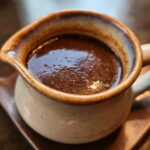
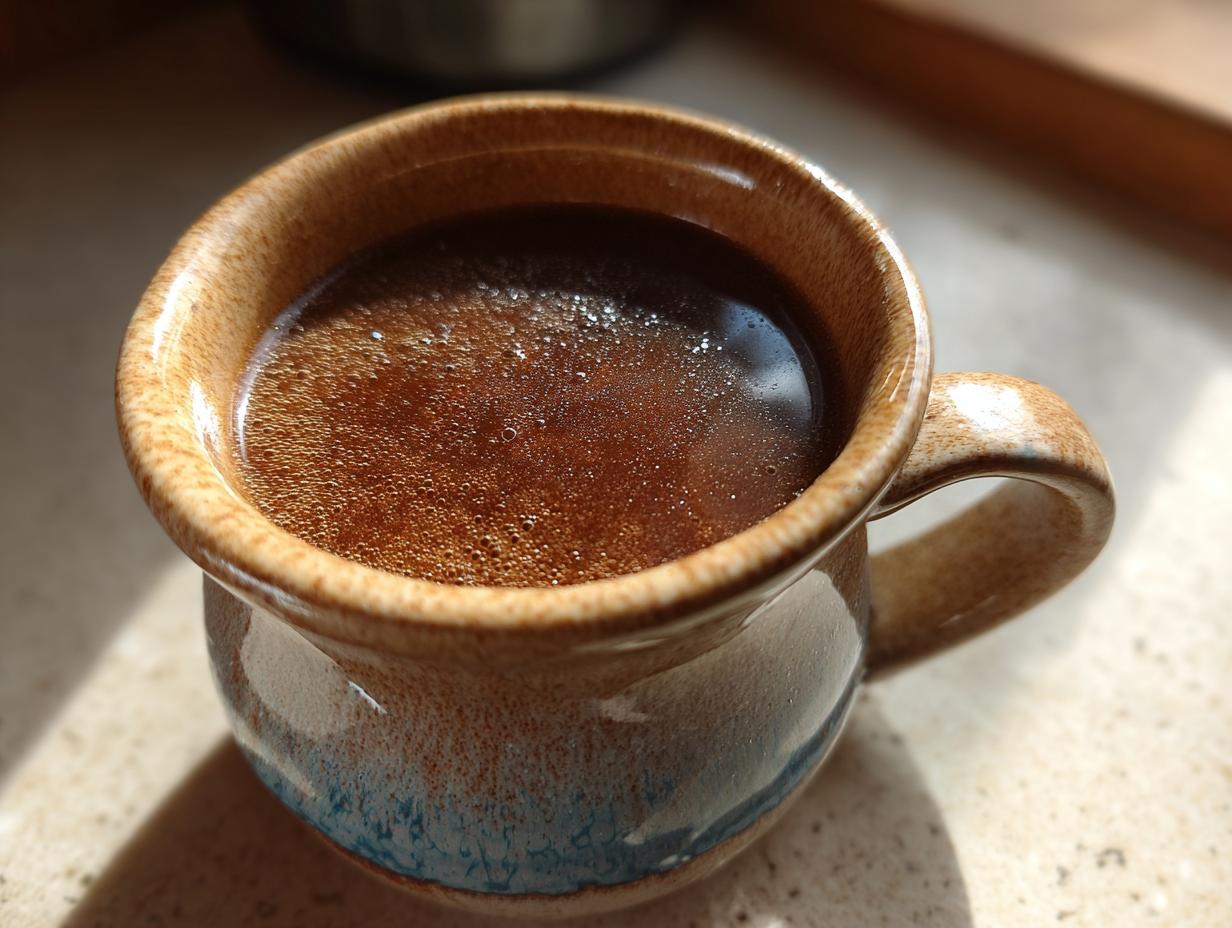
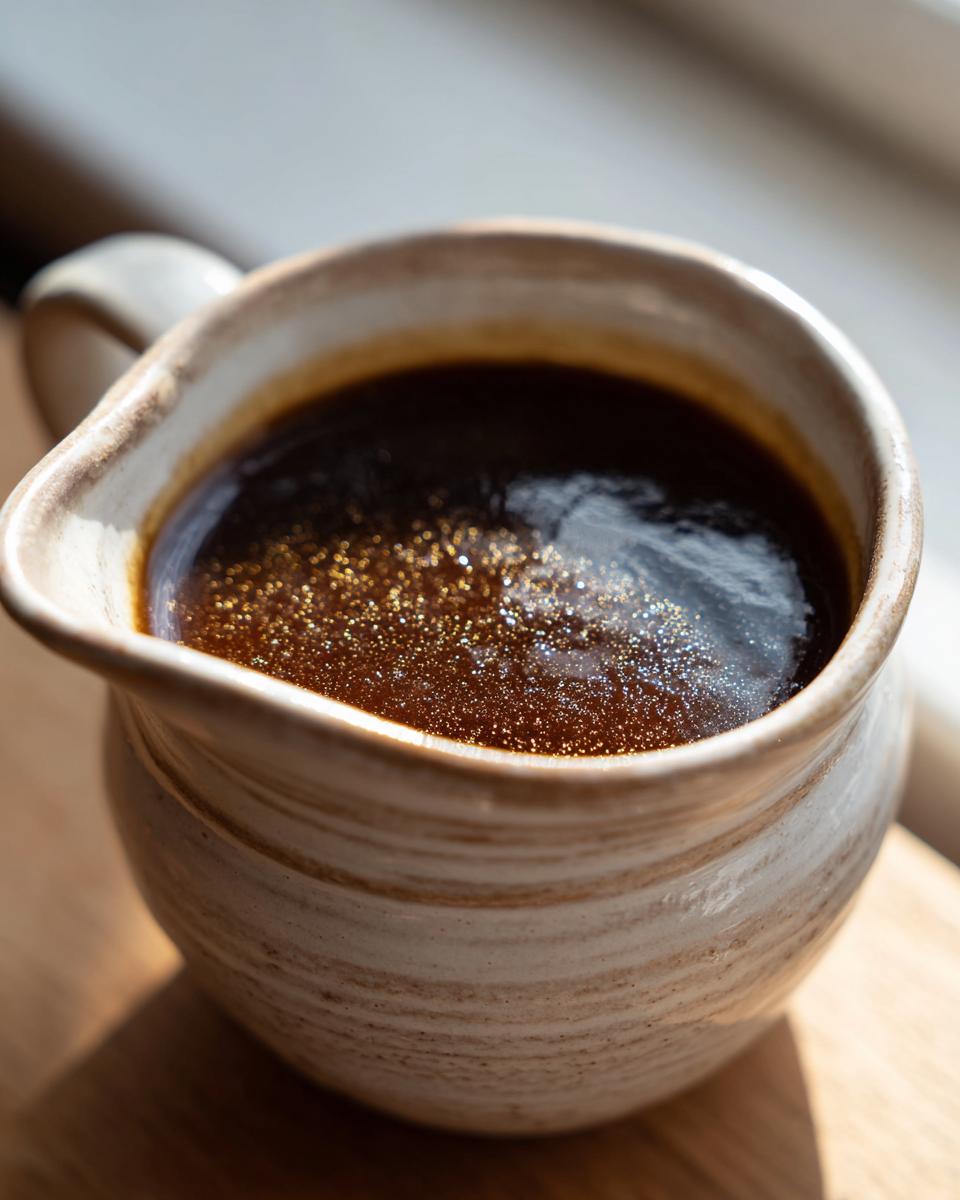
Oh, au jus! If you’re anything like me, the moment you hear that word, you think of rich gravies, juicy roasts, and those incredible French dip sandwiches that just *sing*. It’s this magical, deeply flavorful liquid that takes a good dish and turns it into something truly unforgettable. For years, I struggled to get it *just right* – sometimes it was too weak, sometimes it had a funny aftertaste. But I’ve spent countless hours in my kitchen, messing around, learning, and finally pinning down the magic. Today, I’m thrilled to share my ultimate guide: 5 Secrets to Make the Perfect Au Jus Recipe (Easy). Trust me, once you nail these simple tricks, you’ll be drizzling this liquid gold on everything!
Why You’ll Love This 5 Secrets to Make the Perfect Au Jus Recipe (Easy)
Honestly, what’s not to love about a truly fantastic au jus? This recipe is a total game-changer, and I know you’re going to adore it because:
- It’s ridiculously easy! Seriously, despite the amazing flavor, you won’t believe how simple these steps are. It’s perfect for weeknights or when you want to impress without stressing.
- The flavor is out of this world. We’re talking deep, rich, complex beefiness that just makes everything taste better. It’s the kind of flavor you usually only find in fancy restaurants!
- It’s super versatile. Whether you’re dipping a sandwich, spooning it over a steak, or using it as a base for gravy, this au jus is your new best friend in the kitchen.
- You get restaurant-quality results at home. Forget those bland, watery versions. This recipe delivers that authentic, satisfying taste that will have everyone asking for your secret!
The 5 Secrets to Make the Perfect Au Jus Recipe
Alright, listen up! If you want that deeply satisfying, restaurant-worthy au jus, it’s all about a few key steps. Anyone can just boil some bones, but to get *that* incredible flavor and beautiful color? You need to know the tricks! We’re diving into the 5 secrets that will unlock your inner French chef and help you master 5 Secrets to Make the Perfect Au Jus Recipe (Easy). These aren’t complicated – they’re just smart techniques that make a world of difference!
Secret 1: Roasting the Bones for Deep Flavor
This is non-negotiable, folks! Don’t even *think* about skipping the bone roasting part. It’s the absolute bedrock of a fantastic au jus. When you roast those beef bones in a hot oven – aiming for a deep, dark brown, almost caramelized look – you’re building a flavor foundation that you just can’t get any other way. It adds a richness and color that screams “authentic.” Honestly, I always grab knuckle bones or marrow bones; they give the best flavor. Just spread ’em out on a baking sheet, pop ’em in a 400°F oven for about 30-40 minutes until they look seriously browned, and you’re on your way!
Secret 2: The Aromatic Foundation
Beyond the bones, you need your veggies to set the stage! Think of them as the supporting cast that makes the star (the bones!) shine even brighter. We’re talking onion, carrots, and celery – your classic mirepoix, plus some smashed garlic for that punch. I like to cut my onion into quarters, and roughly chop the carrots and celery. For the garlic, just give the cloves a good smash with the side of your knife; it helps release all those lovely oils. Adding a sprig of thyme and a couple of bay leaves just elevates everything. Using fresh ingredients here makes such a difference; you can really taste the difference compared to stale, sad-looking veggies!
Secret 3: Slow Simmering and Skimming
Now, patience is key here. Once you’ve got your roasted bones, aromatics, water, and maybe that splash of red wine (yum!) all together in a big pot, it’s time for a gentle simmer. We’re not boiling this thing into oblivion; we want a low, slow bubble for at least an hour, maybe even longer if you have the time. This slow dance lets all those amazing flavors meld together. The other crucial part? Skimming! For the first 30 minutes or so, keep an eye on it and scoop off any foam or gunk that floats to the top. It sounds a bit gross, but skimming makes your au jus cleaner tasting and super clear. It’s one of those easy steps that really elevates the final product.
Secret 4: The Perfect Strain
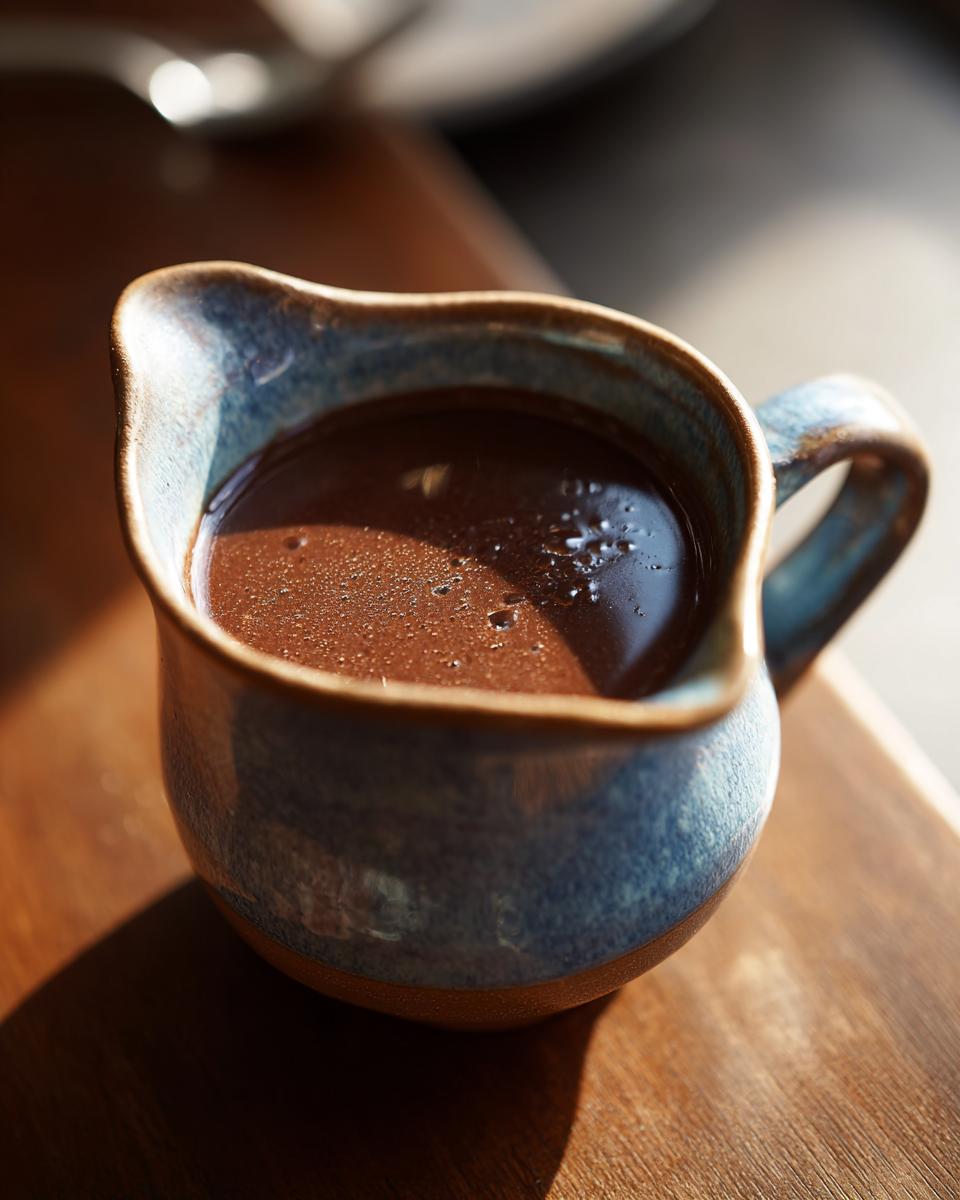
Okay, so you’ve simmered and skimmed, and now it’s time to get all that goodness out. This is where your fine-mesh sieve comes in! Pouring your broth through one is essential for getting that silky-smooth texture without any gritty bits or little vegetable bits floating around. You want a clear, beautiful liquid. Don’t press down too hard on the solids in the sieve; you just want the liquid to flow through. Once it’s all strained into a clean pot or bowl, you can toss those solids – they’ve given their all! A quick tip: cleaning the sieve right after is way easier than trying to scrub it later when stuff has dried on.
Secret 5: Finishing Touches for Perfection
We’re almost there! So you have your beautifully strained broth. Now, we just need to season it up and maybe concentrate it a bit. Stirring in a tablespoon of Worcestershire sauce adds this incredible depth and umami that’s hard to replicate. Then, add your salt, but taste as you go! A little goes a long way. If you want an even richer, more intense au jus, you can let it simmer uncovered for another 10-15 minutes to reduce. This really intensifies the flavor. And my final little secret? Let it rest for about 10 minutes before you serve it. It lets all those fantastic flavors really settle and meld perfectly. It’s amazing how these final touches make all the difference in your 5 Secrets to Make the Perfect Au Jus Recipe (Easy).
Gather Your Ingredients for the Perfect Au Jus Recipe
Before we dive into making that magical au jus, let’s make sure you’ve got everything you need. It’s always better to have it all prepped and ready to go! The quality of your ingredients really shines through here, so try to get the freshest stuff you can. For this easy au jus, you’ll need:
- For the Au Jus:
- 2 lbs beef bones (I love knuckle or marrow bones for the best flavor!)
- 1 large onion, quartered
- 2 medium carrots, roughly chopped
- 2 stalks celery, roughly chopped
- 4 cloves garlic, smashed (just give ’em a good whack with your knife!)
- 1 sprig fresh thyme
- 2 bay leaves
- 1 tablespoon black peppercorns
- 8 cups water
- 1/4 cup dry red wine (optional, but oh-so-good!)
- 1 tablespoon Worcestershire sauce
- 1 teaspoon salt, or to your taste
Having everything measured out and ready makes the whole process so much smoother. Trust me, prepping ahead is part of the fun!
Step-by-Step Instructions for Your Easy Au Jus Recipe
Alright, let’s get down to business and make this amazing au jus! Following these steps is your roadmap to liquid gold. It’s really straightforward, and I promise the results will blow you away. You’ll be saying “Wow!” at every step.
-
Prep and Roast Those Bones: First things first, crank up your oven to 400°F (200°C). Toss your beef bones onto a baking sheet – don’t crowd them! Roast ’em for about 30-40 minutes. You’re looking for them to turn a really deep, gorgeous brown color. This is where *so much* of that amazing flavor comes from, so don’t skimp here! I always give mine a peek and maybe flip ’em halfway through for even browning.
-
Build the Flavor Base: Grab your biggest pot. Carefully transfer those beautifully roasted bones into it. Now, toss in your quartered onion, chopped carrots and celery, those smashed garlic cloves, the thyme sprig, bay leaves, and peppercorns. It’s like building a flavor party in there!
-
Simmer Gently and Skim: Pour in your 8 cups of water. If you’re using the red wine, add it now too – it gives it a lovely depth. Bring the whole thing up to a boil over high heat. As SOON as it starts boiling, turn that heat way down to low. Cover the pot and let it simmer *gently*. We’re talking barely a bubble. Let it go for at least 1 hour. During the first 30 minutes, keep an eye out for any foam or yucky stuff that rises to the surface. Just skim it off with a spoon – trust me, this makes a huge difference in cleaning up the flavor!
-
Strain for Smoothness: Once your simmering time is up, it’s time to get all that liquid goodness separated. Get a clean pot or a big bowl ready, and place your fine-mesh sieve over it. Carefully ladle the liquid from the pot through the sieve. You want to discard all those solids. Don’t press down too hard on the veggies and bones; just let the liquid drain through for a clean, clear au jus. If you love making things like chili or meatballs, a good sieve is your best friend!
-
Finish and Season: Now for the final flourish! Stir in that Worcestershire sauce – it’s a magic ingredient for umami. Add your salt, but taste as you go. You might want a little more or less, depending on your preference. If you want an even more concentrated flavor, you can let this simmer uncovered for another 10-15 minutes to reduce. Then, the hardest part: let it rest for about 10 minutes before serving. This lets all those amazing flavors settle and meld. You’ll have the most perfect au jus ready to go!

Essential Equipment for Making Au Jus
To whip up this delicious au jus, you don’t need a whole lot of fancy gadgets. Just a few trusty kitchen staples will do the trick! You’ll want a nice big pot for simmering everything all together. A good fine-mesh sieve is absolutely essential for getting that super smooth, clear liquid we’re after. And of course, a ladle for scooping everything out!
Tips for Success with Your Au Jus Recipe
You’ve got the secrets, you’ve got the steps, but here are a few little nuggets of wisdom I’ve picked up along the way that can really make your au jus sing. Don’t be afraid to play around a bit! If you’re making a creamy chicken dish or a hearty beef stroganoff, you can totally adapt this base. For depth, I sometimes toss a beef bouillon cube in at the very end, just a tiny pinch, for an extra boost. Also, if your bones didn’t get quite as roasty-toasty as you’d like, a splash of soy sauce when you’re seasoning can work wonders for color and umami. And remember, taste, taste, taste! Your palate is the final judge.
Serving Suggestions for Your Perfect Au Jus
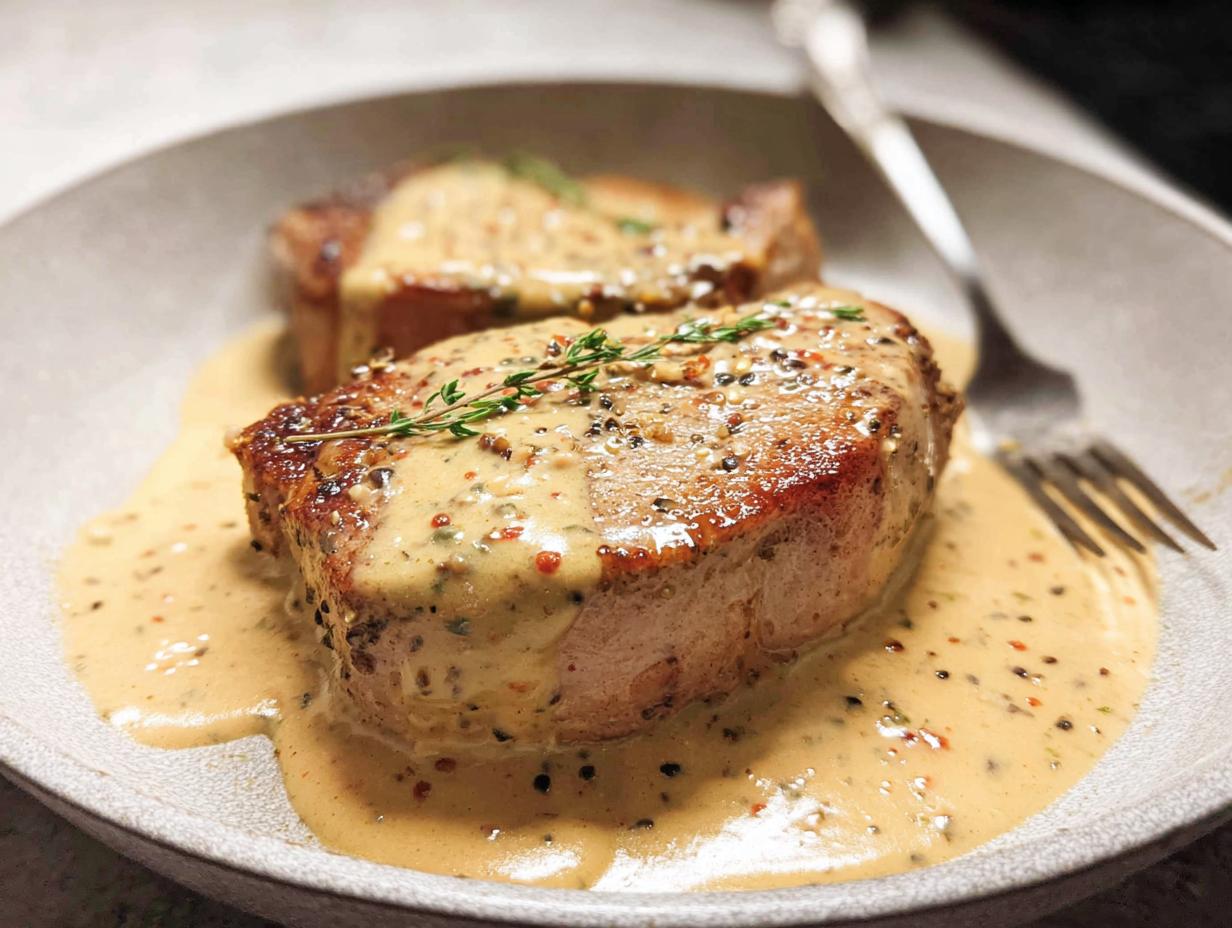
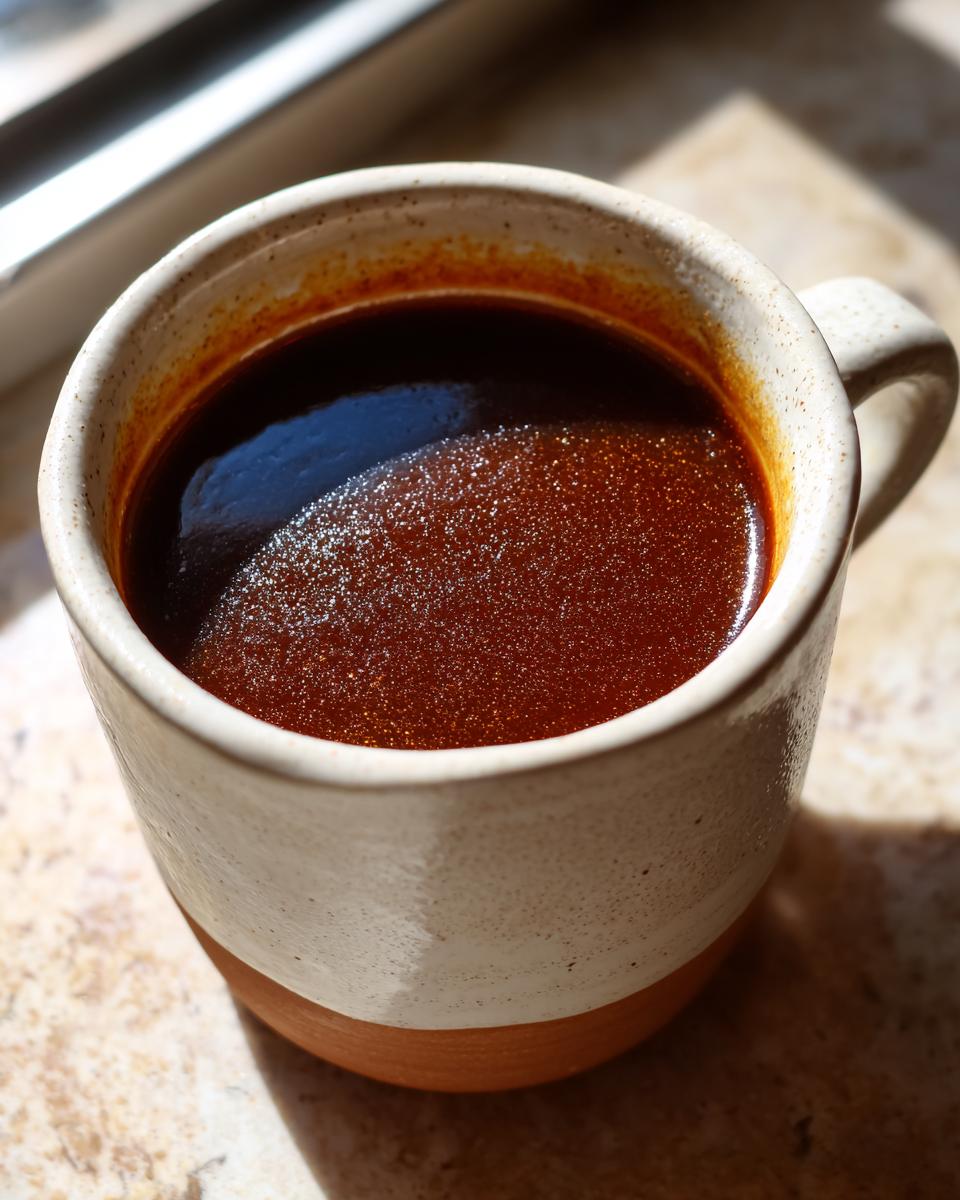
Okay, now that you’ve mastered 5 Secrets to Make the Perfect Au Jus Recipe (Easy), what do you do with all this liquid gold? The possibilities are endless! Of course, it’s a classic for a reason: smothering a juicy steak or a perfectly roasted cut of beef. It’s also divine for dipping French dip sandwiches or thinning out a pan sauce after searing some pork chops. I absolutely love it with a steak bowl or spooned over fork-tender braised short ribs. Honestly, just having it on hand means any meal needing a little beefy boost gets a gourmet upgrade!
Storage and Reheating Instructions
So, you’ve made a fantastic batch of au jus, and maybe you’ve got some leftovers – lucky you! Storing it is super easy. Once cooled, pop it into an airtight container or a freezer-safe bag. In the fridge, it’ll keep nicely for about 3-4 days. If you want to stash it for longer, freezing is your best bet. It’ll last for a good 3-4 months in the freezer. To reheat, just gently warm it on the stovetop over low heat, stirring occasionally, or pop it in the microwave. Make sure it’s heated all the way through before serving!
Frequently Asked Questions about Au Jus
Got questions about making au jus? I get it! It might seem simple, but there are always a few things that pop up. Let’s clear things up:
What’s the main difference between au jus and gravy?
Great question! Au jus is essentially a reduction of plain meat juices, usually from roasted meat, with maybe a little added broth and seasoning. Gravy, on the other hand, typically uses a roux (flour cooked with fat) to thicken it and often has other flavorings added. Au jus is naturally lighter and more “brothy,” while gravy is richer and thicker.
Can I make au jus without roasting the bones?
You *could*, but I really don’t recommend it if you’re aiming for that deep, rich flavor this recipe is all about. Roasting the bones is Secret #1 for a reason! It caramelizes all those beautiful meaty bits and brings out a ton of flavor and color that you just can’t get from boiling plain bones. It truly makes all the difference!
How long should I simmer my au jus?
For this easy recipe, I recommend at least 1 hour of gentle simmering. This allows enough time for the flavors from the roasted bones and aromatics to really meld together. If you have more time, simmering it longer (even a couple of hours) can create an even richer, more concentrated flavor, but an hour is the minimum for good results. Just keep it at a very low simmer!
My au jus is a bit too thin. What can I do?
No worries! If your au jus isn’t as thick as you’d like after straining, you can always reduce it further. Just let it simmer uncovered over medium-low heat for an extra 10-15 minutes (or even longer) until it reaches your desired consistency. Be sure to keep an eye on it so it doesn’t reduce too much! You can also whisk in a tiny bit of cornstarch slurry (cornstarch mixed with a little cold water) for a quick thickening, but reducing it is usually best for flavor.
Nutritional Information (Estimated)
Just a little heads-up, the nutritional info below is an estimate! Since we’re using natural ingredients and things like salt and Worcestershire can vary, the exact numbers might shift a bit. But, this should give you a good idea per serving of our delightful au jus!
- Calories: Around 30
- Fat: About 1g
- Protein: Roughly 4g
- Carbohydrates: Approximately 2g