
Looking for a snack that’s crunchy, savory, and actually good for you? Oven-baked zucchini chips are a game-changer. Whether you’re trying to cut back on processed snacks, eat low-carb, or just want something new for movie night, these crispy little slices of heaven are about to become your go-to. In this article, we’ll break down everything you need to know to get your zucchini chips perfectly golden and crunchy every time. From what tools you need, to why yours might turn soggy, we’ve got you covered. Plus, stick around for pro tips, storage hacks, and some incredible dip ideas.
Table of Contents
Table of Contents
1. Why Oven-Baked Zucchini Chips Are the Ultimate Healthy Snack
The Nutritional Power of Zucchini
Zucchini is one of those low-key vegetables that deserves more attention. Packed with water, fiber, vitamin C, and potassium, it’s a powerhouse of nutrition wrapped in a light, crisp texture once baked. It’s also low in calories and carbs, which makes it an excellent substitute for traditional chips or crackers.
When you swap regular chips for zucchini chips, you’re reducing your intake of refined carbs and unhealthy fats without sacrificing crunch. That’s a huge win for anyone following a clean eating lifestyle, keto, or gluten-free diet.
Zucchini also contains antioxidants like lutein and zeaxanthin that support eye health. It’s heart-friendly too, thanks to its potassium content, which helps regulate blood pressure naturally.
Health Benefits of Oven-Baked vs. Fried Chips
Let’s talk about baking versus frying. Traditional chips are deep-fried in oil, which adds tons of saturated fats and empty calories. Baking, on the other hand, uses minimal oil but still brings the crisp. You control what goes into your chips from the type of oil to how much seasoning you use.
Baking your zucchini chips in the oven gives you that satisfying crunch without the guilt. Plus, you can batch-make them with hardly any effort. Compared to store-bought veggie chips, oven-baked versions come without preservatives, excess sodium, or mystery ingredients.
2. Ingredients You’ll Need for Perfect Zucchini Chips
Choosing the Best Zucchini
When it comes to making crispy zucchini chips, the kind of zucchini you pick matters. Look for small to medium-sized zucchini with firm skin and no soft spots. Smaller zucchinis are less watery and have a slightly firmer texture, which makes them ideal for baking into chips.
Avoid oversized zucchini, which can be more fibrous and hold excess moisture. That extra water is your enemy when you’re chasing crispiness. You want uniform slices, and the more consistent your zucchini is in size, the easier it will be to get even baking.
Wash the zucchini well, but don’t peel it. The skin actually helps it hold its shape and adds texture once baked.
Pantry Essentials for Crispiness (breadcrumbs, cheese, seasoning)
Now let’s talk about the magic-makers—those simple ingredients that take your zucchini chips from basic to gourmet. First, you’ll need a bit of oil—olive oil or avocado oil are great choices. They help with browning and add a light richness without overpowering the flavor.
Next, breadcrumbs. These help create that golden, crispy exterior. Panko is a top choice if you’re after serious crunch. If you’re going low-carb or gluten-free, you can sub in almond flour or crushed pork rinds.
Parmesan cheese is another star player. Not only does it boost flavor, but it melts and crisps beautifully in the oven. Want a vegan option? Try nutritional yeast it gives a cheesy flavor without dairy.
Seasoning is where you make it your own. Garlic powder, paprika, onion powder, Italian herbs, black pepper, and sea salt all work well. Don’t go overboard zucchini has a delicate flavor that you don’t want to mask completely.
Looking for a fresh rercipes after all that richness? Try our Sausage & Egg Keto Breakfast.
3. How to Prep Zucchini for Baking
Slicing Zucchini Thin for Uniform Chips
The key to crisp zucchini chips starts with how you slice them. You want even, thin slices—about 1/8 inch thick. Too thick, and they’ll never crisp up. Too thin, and they might burn.
A mandoline slicer is your best friend here. It gives you consistent thickness across all slices, which means everything bakes at the same rate. If you’re using a knife, take your time and try to keep your slices as uniform as possible.
Even slices also help the seasonings coat evenly, giving every bite the same flavor and crunch. Don’t skip this step uneven slicing is one of the main reasons chips end up soft or burned.
Salting Zucchini to Avoid Sogginess
Zucchini holds a lot of water, and that moisture is your biggest enemy when you want crispy results. That’s where salting comes in.
After slicing your zucchini, lay the slices out on a paper towel and lightly sprinkle both sides with salt. Let them sit for 15 to 20 minutes. You’ll notice the water begin to bead on the surface that’s exactly what you want.
Once the time’s up, pat each slice dry with another paper towel. This step removes the excess moisture that causes chips to steam instead of bake.
This one step alone can be the difference between a soggy zucchini chip and one that’s oven-crisp perfection. Don’t rush it it’s worth the extra few minutes.
4. The Best Oven Techniques for Crispy Zucchini Chips
Temperature and Timing: How Long Do Zucchini Cook in the Oven?
Getting the oven temperature just right is one of the most important parts of making zucchini chips. Bake them too hot and they burn before they dry. Too low, and they’ll turn out soggy or chewy. The sweet spot? Set your oven to 225°F to 250°F (about 110°C to 120°C).
This low and slow approach helps draw out moisture gradually, allowing the zucchini to dehydrate without scorching. On average, zucchini chips take 1.5 to 2 hours to crisp up in the oven, depending on your slice thickness and moisture levels.
To keep things consistent, flip the chips halfway through baking. Use parchment paper or a silicone mat on your baking tray to avoid sticking and to promote even browning.
If you’re short on time, you might be tempted to raise the temperature, but that can lead to uneven cooking. The result? Some chips burned, others still limp. Stick with low heat and patience—you’ll be rewarded with light, crisp chips every time.
Why Your Chips Might Not Be Crispy and How to Fix It
If your oven-baked zucchini chips are coming out soft or chewy, you’re not alone. Here are a few common reasons and simple fixes:
- Too thick: Even slightly thick slices take longer to bake and may not get crispy.
- Not enough moisture removal: Skipping the salt-and-sweat step leaves water inside the zucchini, which leads to steaming instead of crisping.
- Overcrowded tray: Don’t overlap your chips. Spread them in a single layer with a bit of space between each one. Overlapping causes steam buildup.
- Wrong baking surface: A wire rack allows better air circulation compared to a solid baking sheet. If you have one, use it.
- Inconsistent oven temp: Some ovens run hot or cool. Use an oven thermometer if you suspect your settings aren’t accurate.
You can also finish off chips that are almost done by turning off the oven and letting them sit inside for another 10 to 15 minutes. This gives them time to dry without more direct heat.
5. How to Avoid Soggy Zucchini Chips
The Importance of Moisture Removal
Soggy zucchini chips are the ultimate disappointment. They look right, smell great, but bite into one and it’s soft, maybe even rubbery. The main culprit? Water.
Zucchini is more than 90% water, which is why it needs special attention before hitting the oven. If you skip moisture removal, your chips will steam instead of bake. That means no crunch.
The best method is the salt-sweat technique. After slicing, sprinkle the zucchini with a little salt and let it sit for 15 to 20 minutes. You’ll see water rise to the surface—wipe it off thoroughly with paper towels. This step draws out enough liquid to help the chips dehydrate properly during baking.
Another tip: blot the slices again just before seasoning. Even if they look dry, a second pat-down ensures no hidden moisture ruins the batch.
And don’t forget, seasoning sticks better to dry zucchini, so your chips come out crisp and flavorful.
Baking Sheet vs. Wire Rack: Which Works Better?

Let’s talk about what you’re actually baking your chips on. Your baking surface can make or break your chip texture.
A traditional baking sheet lined with parchment paper works fine, but it limits airflow. This can slow down the drying process, especially if the chips are close together.
A wire rack placed over a baking sheet is the better option. It allows hot air to circulate around each chip, encouraging even cooking and crisping on all sides. If you have a rack, use it. It’s the professional trick that brings homemade zucchini chips to snack-worthy perfection.
No rack? Don’t worry. Just be sure to flip each chip halfway through and give them space. Avoid stacking or overlapping.
6. Creative Seasonings and Coatings for Zucchini Chips
Parmesan, Garlic, and More Flavorful Twists
One of the best things about oven-baked zucchini chips is how versatile they are. Once you master the base recipe, the flavor possibilities are endless. Whether you’re into bold spices or subtle seasonings, there’s a combo that will hit the spot.
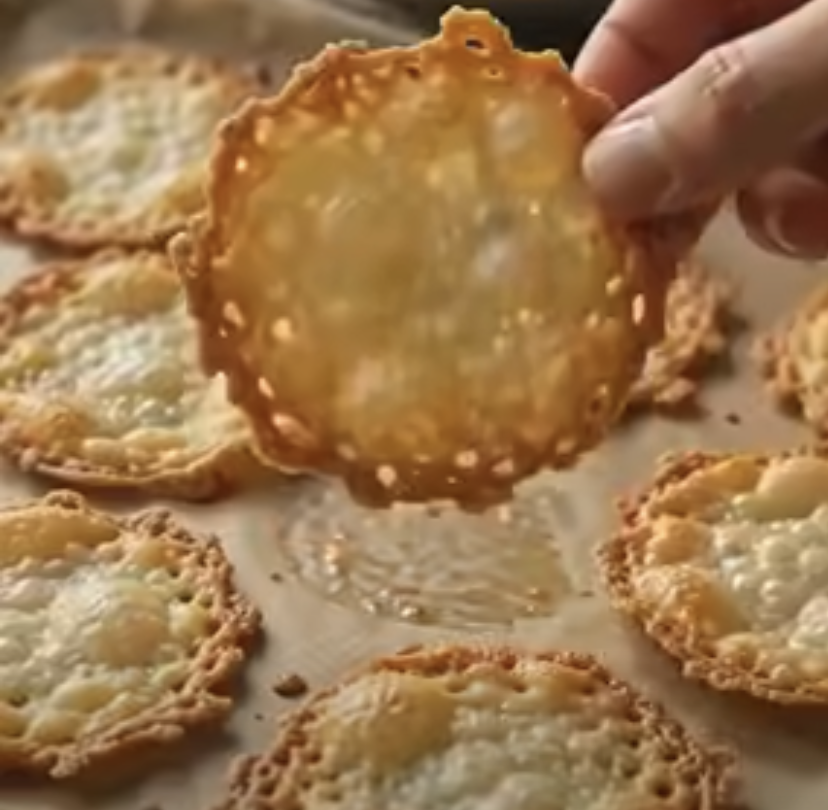
Parmesan cheese is a classic topping that pairs beautifully with zucchini. It melts as the chips bake, forming a savory, crispy crust. For an extra kick, add garlic powder, smoked paprika, or even cayenne pepper if you like heat.
Want something more herby? Try Italian seasoning, rosemary, or thyme for a Mediterranean vibe. Sprinkle over a pinch of sea salt and black pepper, and you’ve got yourself a gourmet snack with almost no effort.
For a cheesy twist without the dairy, use nutritional yeast. It gives a rich, umami flavor that mimics cheese, making it a great choice for vegan and plant-based diets.
To get even coating, mix your dry ingredients in a shallow bowl and press both sides of the zucchini slices into the blend before placing them on your baking rack or tray.
Vegan and Gluten-Free Options
If you’re following a special diet, don’t worry—zucchini chips are super easy to adapt. For a vegan version, skip the Parmesan and go with nutritional yeast, herbs, and spices. You still get that cheesy, nutty flavor without any animal products.
For gluten-free eaters, use almond flour or crushed gluten-free crackers instead of breadcrumbs. Crushed seeds like sunflower or pumpkin also add a unique crunch and nutrition boost.
Air fryers are another solid option for those avoiding oil. They can crisp up zucchini chips quickly with little to no added fat, especially when combined with these seasoning tips.
By mixing up coatings and seasonings, you can create batch after batch of zucchini chips that never feel repetitive. Sweet, spicy, cheesy, or herby you can have it all.
7. Serving Ideas and Snack Pairings
Healthy Dips That Pair Well with Zucchini Chips
Zucchini chips are delicious on their own, but pairing them with the right dip takes the flavor to another level. These healthy, oven-baked bites go well with both creamy and tangy sauces, adding contrast and richness.
One classic pairing is a simple Greek yogurt dip. Mix plain Greek yogurt with garlic, lemon juice, chopped dill, and a pinch of salt for a refreshing twist. It’s creamy, tangy, and low in fat.
Looking for something a bit more indulgent? Try homemade guacamole or a spicy sriracha mayo. These dips bring in bold flavors that match well with crispy chips and take just minutes to prepare.
If you prefer a cheesy option, a warm spinach and artichoke dip is a game-changer. The soft, creamy dip with the crispy crunch of zucchini is a combo worth repeating.
You can also keep it light with a classic hummus, tzatziki, or roasted red pepper spread. These pairings keep your snack clean, nutritious, and full of flavor.
Best Times to Snack: From Parties to Movie Nights
Zucchini chips are the kind of snack that fits almost any occasion. Hosting friends for game night? Serve a big bowl of baked chips with a trio of dips. Planning a cozy movie marathon? Zucchini chips hit the spot without leaving you feeling heavy or sluggish.
They’re also great as a lunchbox side, picnic snack, or even as a crunchy topping for salads and soups. Just crumble them slightly and sprinkle them over your favorite dishes for a bit of texture and flavor.
Another creative use? Serve them as a crunchy base for mini nachos just layer zucchini chips with shredded cheese, black beans, and jalapeños, then bake until bubbly.
Whatever the moment, these oven-baked snacks bring flavor, crunch, and versatility. And because they’re healthy, you won’t feel guilty going back for seconds (or thirds).
8. Storage and Reheating Tips for Lasting Crispiness
How to Keep Zucchini Chips Crispy for Days
Once you’ve put in the effort to bake the perfect batch of zucchini chips, the last thing you want is for them to go soft. The key to keeping them crisp is proper storage.
First, make sure the chips are completely cooled before storing. Any trapped heat will create steam and turn your chips soggy. Spread them out on a wire rack and let them sit for at least 20 to 30 minutes after baking.
When it comes to containers, skip plastic. Use an airtight glass container or a metal tin lined with paper towels. The paper towels absorb any extra moisture, helping your chips stay dry and crunchy.
Avoid refrigerating them. The cool air in the fridge can make baked zucchini chips lose their crisp texture. Instead, store them at room temperature in a cool, dry place like your pantry.
If stored correctly, they’ll stay crispy for up to 3 days but let’s be honest, they probably won’t last that long.
Can You Freeze Baked Zucchini Chips?
Freezing zucchini chips isn’t ideal, but it’s possible. However, you have to do it the right way if you want any chance of getting that crispiness back.
Start by flash-freezing the cooled chips on a baking sheet. Once frozen, transfer them to a freezer-safe zip-top bag or container with parchment between layers to prevent sticking.
When you’re ready to eat them, don’t let them thaw at room temp. Instead, preheat your oven to 250°F, place the frozen chips directly on a wire rack or baking tray, and reheat them for 10 to 15 minutes. This helps draw out moisture and revives their crunch.
Still, the best approach is to make smaller batches fresh. These chips are easy enough to whip up on a whim and taste best right out of the oven.
9. Common Mistakes and Pro Tips for the Best Zucchini Chips Ever
What Is the Secret to Crispy Chips?
Crispiness comes down to one thing: moisture control. The less water you leave in the zucchini, the crunchier your chips will be. But it’s not just about drying them off—timing, slicing, and spacing all play big roles.
Here’s the real secret: combine thin, uniform slicing with proper salting and a long, low bake. That trifecta removes moisture gradually and evenly, which is the golden rule for perfect chips.
Want to take it a step further? Use a wire rack instead of a flat tray to allow air to circulate under the chips. This prevents soggy bottoms and helps every slice crisp up evenly.
Another pro move is to use a very light spritz of oil—not a pour. Too much oil can cause limp chips. A quick spray gets the surface golden without making it greasy.
And finally, let them cool in the oven. After turning it off, leave the chips inside with the door slightly cracked for 10–15 minutes. This final drying phase locks in crispiness.
Troubleshooting: Burnt, Uneven, or Mushy Chips
Even experienced home cooks run into chip disasters now and then. If your zucchini chips aren’t turning out right, here’s how to fix it.
If your chips are burnt, your oven might be too hot or your slices too thin. Stick with a temperature around 225–250°F and watch them carefully in the final 30 minutes.
If your chips are uneven, it’s likely due to inconsistent slicing. Use a mandoline slicer to keep every piece the same thickness.
If they’re mushy, you may have skipped the salting step or sliced them too thick. Too much moisture left in the zucchini leads to steaming instead of baking. Make sure your slices sweat out for at least 15 minutes before baking.
Also, avoid stacking or overlapping your chips. Airflow is everything when it comes to baking evenly. Give each chip space to breathe.
FAQ
Will zucchini get crispy in the oven?
Yes, zucchini can get perfectly crispy in the oven if you prepare and bake it correctly. The key is to slice it thinly, remove excess moisture with salt, and bake it low and slow—around 225°F to 250°F. Using a wire rack also helps improve airflow, which makes the chips crisp evenly without burning.
How long do zucchini cook in the oven?
Zucchini chips typically take 1.5 to 2 hours to bake in the oven at a low temperature. The exact time can vary depending on how thin your slices are and how much moisture they hold. Flip them halfway through baking for even crispiness. You’ll know they’re done when they feel firm and golden brown.
How to bake zucchini without it getting soggy?
To prevent soggy zucchini chips, start by salting the slices and letting them sit for 15 to 20 minutes to release water. Then, pat them dry before baking. Bake in a single layer with enough space between slices and use a wire rack if possible. Avoid using too much oil it can trap moisture and prevent crisping.
Why are my oven-baked chips not crispy?
Chips can turn out soft for several reasons: slices might be too thick, not enough water was removed, or they were baked at the wrong temperature. Also, if the oven is overcrowded or you skipped flipping the chips, it can lead to uneven baking. For best results, keep slices thin, dry them well, and bake slowly with airflow.
What is the secret to crispy chips?
The secret is all in the moisture management and the baking method. Thin, uniform slices, salt for sweat-out, minimal oil, and low-temperature baking for a longer time are the top tactics. Letting the chips cool in the oven after baking helps dry them even more, locking in the crispiness.
Conclusion
Oven-baked zucchini chips are more than just a healthy snack—they’re a crunchy, customizable, guilt-free alternative to processed chips. Whether you’re keeping it low-carb, gluten-free, vegan, or just want a better option for snacking, these chips check every box.
From picking the right zucchini to seasoning with flavor-packed coatings and baking them low and slow, every step matters when it comes to achieving that perfect crunch. Now you know the secrets to crispy success moisture control, proper slicing, and thoughtful baking technique.
Ready to get creative? Try different spices, dips, or serve them alongside your favorite meals. And if you’re looking to expand your clean eating recipes, don’t miss our collection of healthy veggie dishes and clean comfort foods.
For more recipes follow me on PINTEREST
PrintOven-Baked Zucchini Chips: The Crispiest, Healthiest Snack You’ll Ever Try

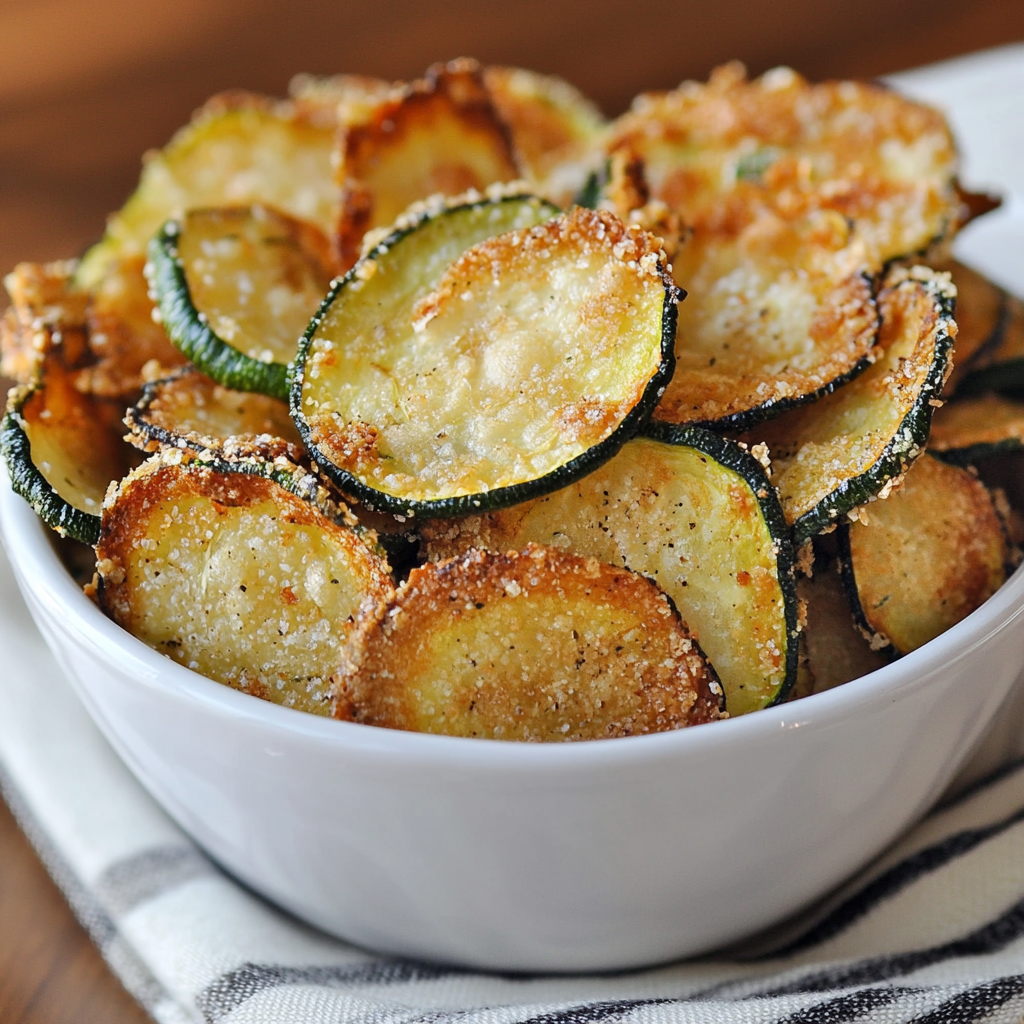
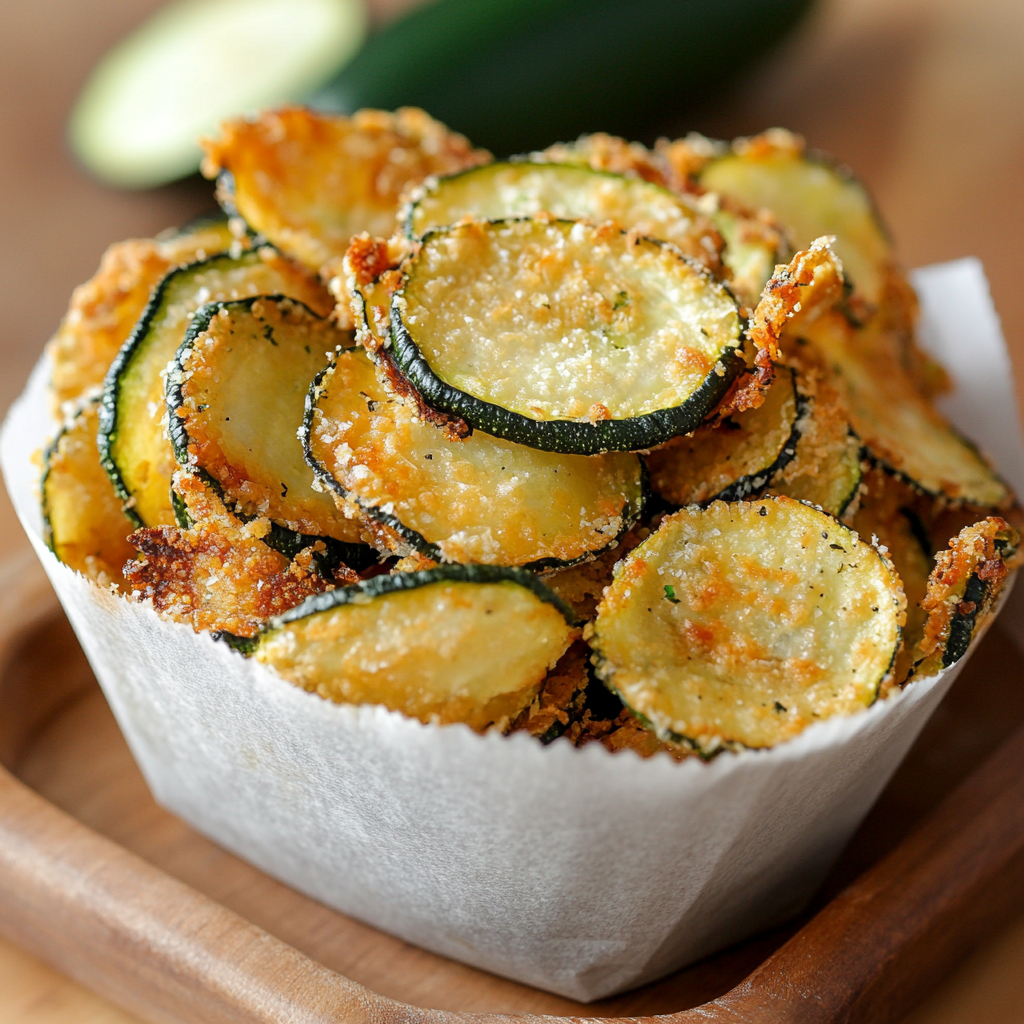
These oven-baked zucchini chips are a crunchy, guilt-free alternative to potato chips. Lightly seasoned and perfectly crisp, they’re ideal for clean eating, low-carb snacking, or a wholesome party appetizer. With just a handful of ingredients, you’ll turn fresh zucchini into an irresistible crispy treat.
- Prep Time: 35 minutes
- Cook Time: 1 hour 45 minutes
- Total Time: 2 hours 20 minutes
- Yield: 4 1x
- Category: lunch
- Cuisine: American
Ingredients
-
2 medium zucchinis (thinly sliced)
-
1 tablespoon olive oil (or avocado oil spray)
-
1/4 cup grated Parmesan cheese (or nutritional yeast for vegan)
-
1/4 cup breadcrumbs (or almond flour for gluten-free)
-
1/2 teaspoon garlic powder
-
1/4 teaspoon paprika
-
1/2 teaspoon salt (plus extra for sweating)
-
1/4 teaspoon black pepper
Instructions
-
Preheat oven to 225°F (110°C).
-
Slice zucchini into thin rounds using a mandoline or sharp knife (about 1/8 inch thick).
-
Lay slices on paper towels and sprinkle both sides with salt. Let them rest for 15–20 minutes to release moisture.
-
Pat zucchini slices dry with fresh paper towels.
-
In a shallow bowl, combine breadcrumbs, Parmesan, garlic powder, paprika, and black pepper.
-
Lightly brush or spray zucchini slices with olive oil, then press each side into the breadcrumb mixture.
-
Arrange slices in a single layer on a wire rack placed over a baking sheet.
-
Bake for 90 to 120 minutes, flipping halfway, until chips are golden and crisp.
-
Turn off oven and let chips cool inside with door slightly open for 10–15 minutes for extra crispiness.
-
Serve immediately or store in an airtight container at room temperature.
Nutrition
- Serving Size: 4
- Calories: 95
- Sugar: 2g
- Sodium: 180mg
- Fat: 5g
- Saturated Fat: 1g
- Carbohydrates: 8g
- Fiber: 2g
- Protein: 95