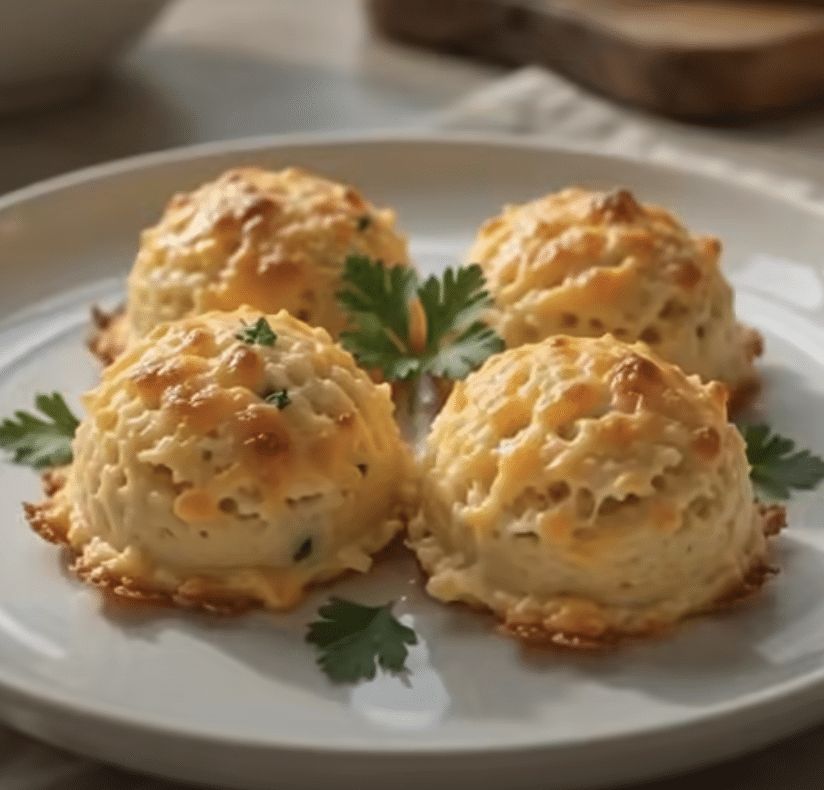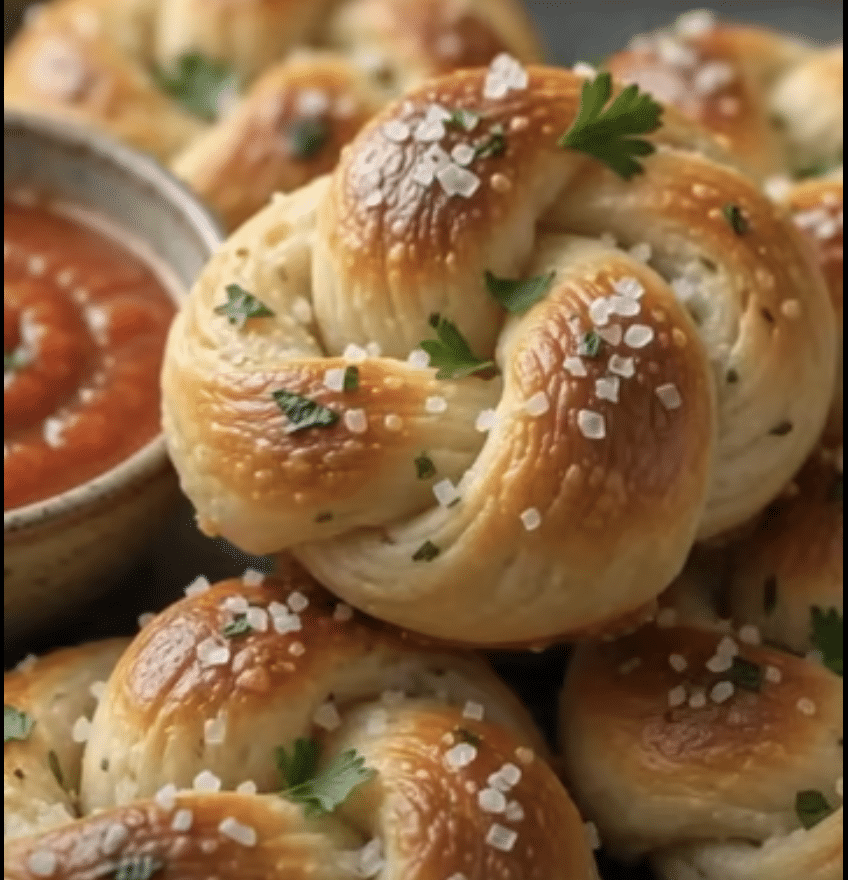

You know, I absolutely *love* a good party appetizer. The kind that people go crazy for, the kind where the empty platter tells the whole story! Well, let me tell you about these Cheesy Thumbprint Appetizers. I remember the first time I whipped them up, a total last-minute save for a neighborhood get-together. Turns out, they’re ridiculously easy but look like you spent hours on them. They’ve become my go-to for *any* occasion because they’re just so delightfully cheesy and perfectly bite-sized. Seriously, get ready to impress everyone with these little wonders!
Why You’ll Love These Cheesy Thumbprint Appetizers
My favorite thing about these little bites? They are SO simple! You’ll be amazed at how few ingredients they need and how quickly they come together. Plus, the flavor is just amazing – that buttery, cheesy crust with that creamy, zesty center? Pure magic! They’re perfect for game days, holiday parties, or even just a Tuesday night when you need a little something special. Honestly, they’re a total crowd-pleaser and always disappear in a flash.
Gather Your Ingredients for Cheesy Thumbprint Appetizers
Alright, let’s talk about what you’ll need to make these irresistible Cheesy Thumbprint Appetizers. It’s honestly a pretty short list, which is one of the things I love about them! You likely have most of this lurking in your pantry already.
For the little doughy cups, grab yourself 1 cup of all-purpose flour. Then, for that amazing cheesy base, you’ll want 1/2 cup of shredded cheddar cheese – sharp cheddar works best for me, but use whatever you love! You technically need 1/4 cup of cold butter, cut into pieces. Seriously make SURE your butter is cold; it makes all the difference in the dough’s texture. Plus, we need 1 tablespoon of cold water – just a splash to bring it all together, and a little pinch of 1/4 teaspoon salt and 1/4 teaspoon black pepper for flavor.
Now for that creamy, dreamy filling! That’s where the 1/4 cup of cream cheese comes in. Make sure it’s softened a bit so it’s easy to mix. And finally, for a pop of freshness, we’ll use 2 tablespoons of chopped chives. That’s it! See? Super doable!
Step-by-Step Guide to Making Cheesy Thumbprint Appetizers
Okay, hands on deck time! Making these tasty little Cheesy Thumbprint Appetizers is pretty straightforward, even though it looks fancy. Just follow along with me, and you’ll have a batch of these beauties ready in no time.
Preparing the Dough for Cheesy Thumbprint Appetizers
First things first, let’s get that dough ready. In a medium bowl, just whisk together your flour, shredded cheddar, salt, and pepper. Now, add in your cold, cubed butter. You want to work that butter into the flour mixture until it looks like coarse crumbs. A pastry blender works great, but honestly, your fingertips are just fine too! If it starts getting a little warm, pop it in the fridge for a minute. Then, just drizzle in that cold water, a little at a time, and mix until a dough starts to come together. Don’t overmix it! Pop that dough into the fridge for about 15 minutes to chill – this makes it way easier to handle. It’s kind of like prepping potatoes for roasting, you want that chill time to set things up right!
Crafting the Creamy Filling
While that dough is chilling out, let’s whip up the filling. In a separate little bowl, just mix your softened cream cheese with those chopped chives. Give it a good stir until it’s all nicely combined. See? Super easy, and it smells so good already!
Assembling and Baking Your Cheesy Thumbprint Appetizers
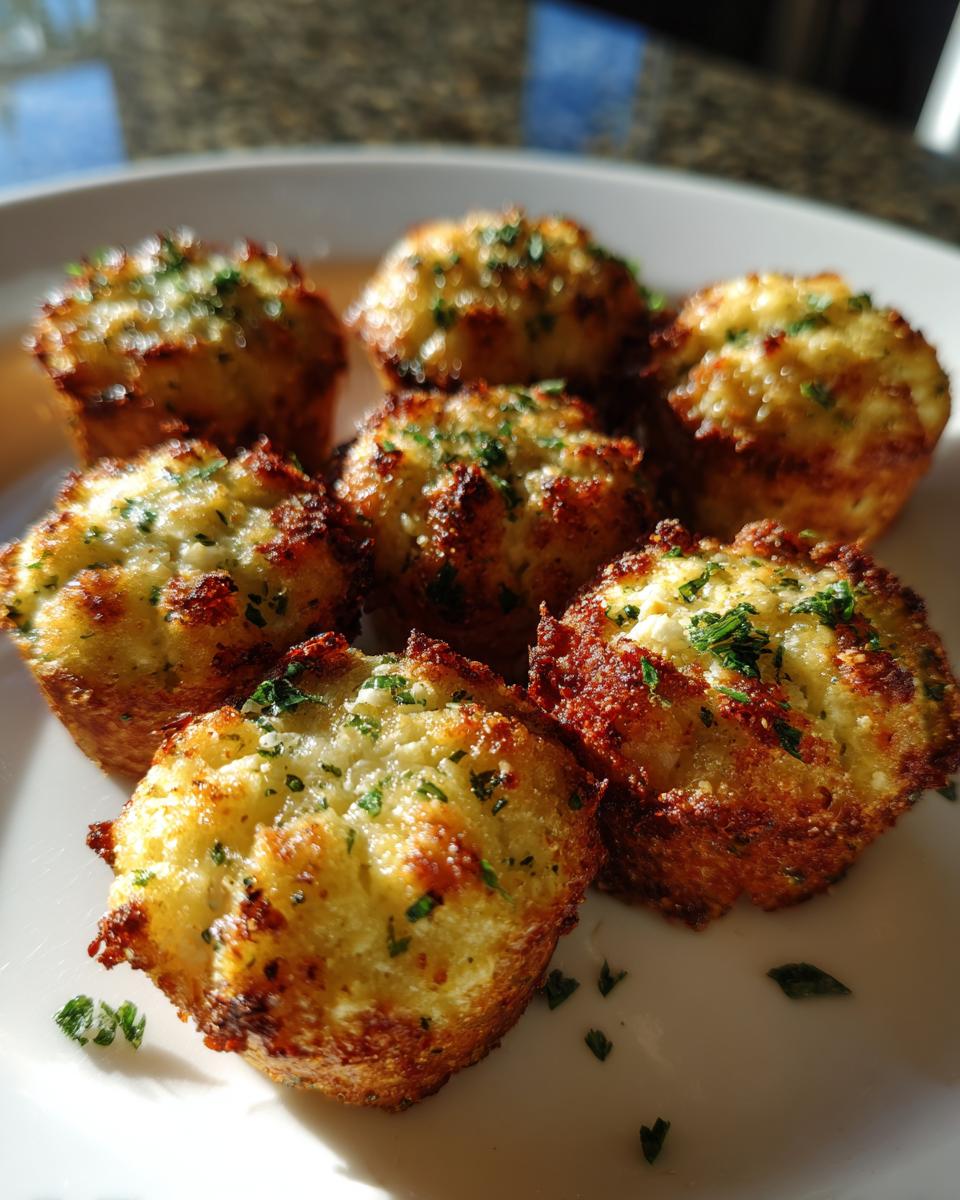
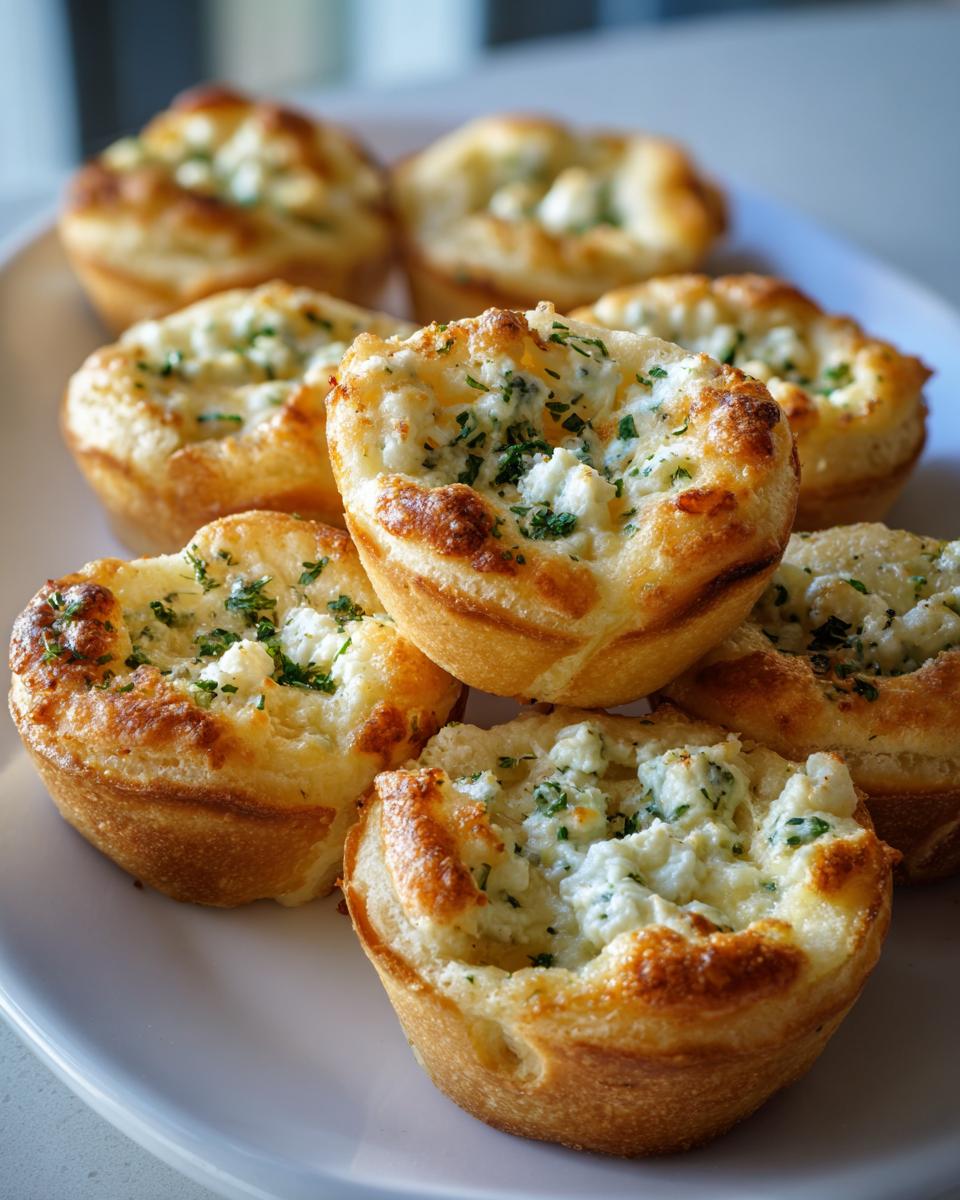
Alright, it’s time to put it all together! Preheat your oven to 375°F (190°C) and grab a baking sheet. Line it with parchment paper if you have it – makes cleanup a breeze! Take your chilled dough out and roll it into little balls, about the size of a walnut. Then, grab your (clean!) thumb or the end of a wooden spoon and press down into the center of each ball to make a little pocket. Don’t go all the way through! Spoon about a teaspoon of that creamy cream cheese and chive mixture right into each little well. Carefully place these on your prepared baking sheet. They’ll bake for about 15-20 minutes. You’re looking for them to be nicely golden brown around the edges. Keep an eye on them so they don’t get too dark!
Tips for Perfect Cheesy Thumbprint Appetizers Every Time
You know, after making these Cheesy Thumbprint Appetizers more times than I can count, I’ve picked up a few little tricks that really make them shine. It’s all about that little bit of extra attention, you know? First off, don’t skip chilling that dough! If it’s too sticky, you’ll have a mess on your hands, and nobody wants that. Keeping it cold makes it so much easier to roll and indent without it sticking to everything. And when you’re making that thumbprint, don’t press too deep! You want a nice little well for that creamy filling, but you don’t want to accidentally poke through the bottom, or your delicious cheese might escape. It’s good to remember how important it is to get things just right, kind of like making sure your cabbage steaks cook perfectly. You can always use the back of a small measuring spoon if your thumb is too… enthusiastic. Just like when cleaning your garbage disposal, the timing and temperature are key for that perfect golden finish. And if your cream cheese filling ever seems a bit too loose, just mix in a touch more cheese – it really helps it hold its shape, almost like when **making perfectly seasoned chicken pasta**!
Ingredient Notes and Substitutions for Cheesy Thumbprint Appetizers
You know, the beauty of these Cheesy Thumbprint Appetizers is that they’re super forgiving! If you don’t have exactly what’s listed, don’t sweat it. For the dough, that cheddar cheese really gives it that wonderful savory punch. If you’re feeling adventurous, you could totally swap it out for a sharp Monterey Jack, a spicy pepper jack if you like a little kick, or even a smoky gouda! Just make sure it’s a good melting cheese.
And for the filling? If chives aren’t your jam, or you just don’t have them, try a little finely chopped parsley, dill, or even some green onions! A tiny pinch of garlic powder mixed into that cream cheese filling can also be delicious, kind of like how we add it to hearty chowders to boost the flavor. Just play around and see what you like best!
Serving and Storing Your Cheesy Thumbprint Appetizers
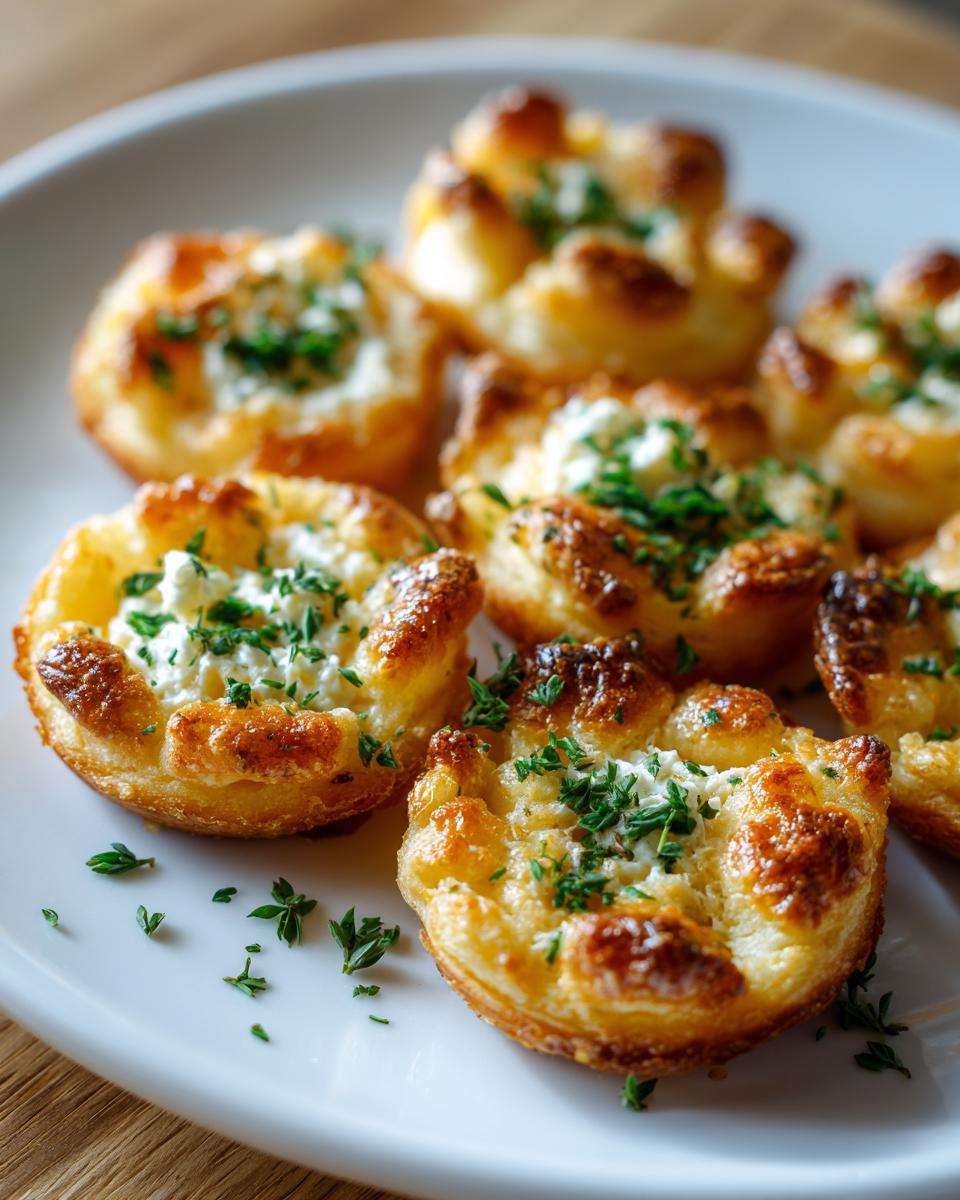
These Cheesy Thumbprint Appetizers are best served warm, right out of the oven. That’s when the crust is extra crispy and the cheesy filling is perfectly melty and gooey. They’re fantastic on their own, but if you want to get fancy, they pair wonderfully with a light relish or a simple dipping sauce. Think of it like serving sweet potato dishes – you want to complement, not overpower!
If you happen to have any leftovers (which I highly doubt!), just pop them into an airtight container once they’ve cooled completely. They’ll keep just fine in the refrigerator for about 2-3 days. To reheat them and get that lovely crispiness back, just pop them in a 350°F (175°C) oven for about 5-7 minutes until they’re warmed through. You can also freeze them before baking if you want to prep ahead, just bake them directly from frozen, adding a few extra minutes to the cooking time!
Frequently Asked Questions about Cheesy Thumbprint Appetizers
Got questions? I’ve got answers! Making these Cheesy Thumbprint Appetizers is usually pretty smooth sailing, but I get that sometimes you just need a little extra guidance. Let’s tackle some of the most common things people ask me about!
Can I make the dough for Cheesy Thumbprint Appetizers ahead of time?
Oh, absolutely! That’s one of the best parts. You can totally make the dough, wrap it well in plastic wrap, and pop it in the fridge for up to two days. When you’re ready to bake, just let it sit out for about 10-15 minutes to soften slightly before shaping.
What other fillings can I use for these thumbprint appetizers?
The cream cheese and chives are divine, but you can totally get creative! Try a dollop of pesto, a bit of fig jam for a sweet kick, or even a tiny bit of savory bacon jam. A little sprinkle of Parmesan on top of the cream cheese filling is also yummy!
How do I prevent the indentations from collapsing during baking?
This is a common one! Try not to make the indentations *too* deep, just enough to hold the filling. Some folks find using the bottom of a small measuring spoon or even a small spice jar lid works great to get a nice consistent shape. It really helps them keep their cute little thumbprint look!
Estimated Nutritional Information
Just so you know, these numbers are estimates, because we all use slightly different ingredients, right? But for one of these little Cheesy Thumbprint Appetizers, you’re generally looking at around 75 calories. We’ve got about 5g of fat (3g saturated), a couple of grams of protein, and roughly 6g of carbs. They’re really light and delightful, especially when you consider how satisfying they are! It’s always good to have a general idea, like when we look at protein-packed breakfast options!
Share Your Cheesy Thumbprint Appetizer Creations!
I just LOVE seeing what you all make! Seriously, when you whip up these Cheesy Thumbprint Appetizers, please drop a comment below and tell me how they turned out. Did you try a fun variation? What did your guests think? And if you snap a pic, tag me on social media! I’d be thrilled to see your creations!
PrintCheesy Thumbprint Appetizers

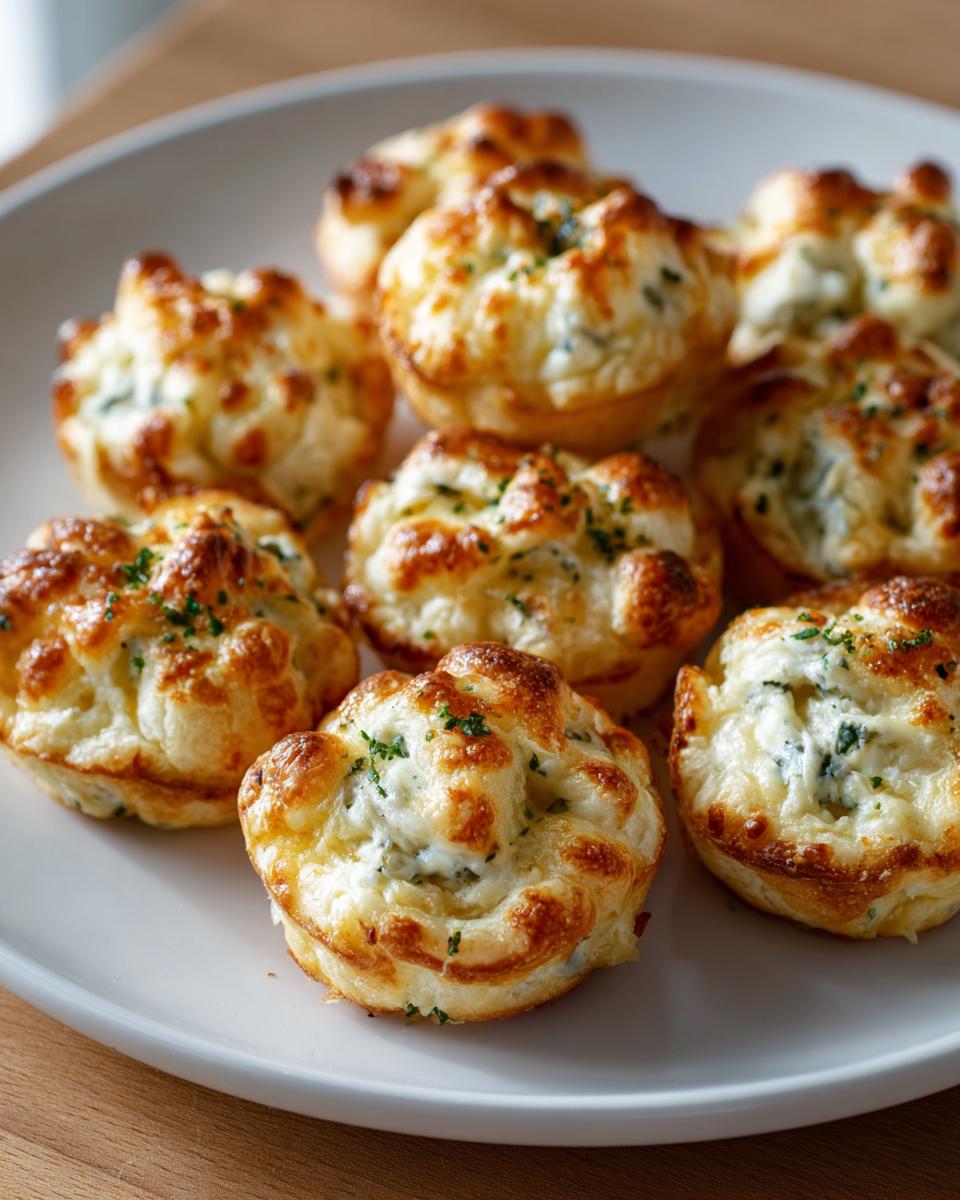
Bite-sized appetizers with a cheesy filling and a crisp crust.
- Prep Time: 20 min
- Cook Time: 20 min
- Total Time: 40 min
- Yield: 24 appetizers 1x
- Category: Appetizer
- Method: Baking
- Cuisine: American
- Diet: Vegetarian
Ingredients
- 1 cup all-purpose flour
- 1/2 cup shredded cheddar cheese
- 1/4 cup cold butter, cut into pieces
- 1 tablespoon cold water
- 1/4 teaspoon salt
- 1/4 teaspoon black pepper
- 1/4 cup cream cheese, softened
- 2 tablespoons chopped chives
Instructions
- Preheat your oven to 375°F (190°C).
- In a bowl, combine flour, cheddar cheese, salt, and pepper.
- Cut in the cold butter until the mixture resembles coarse crumbs.
- Add cold water and mix until a dough forms.
- Chill the dough for 15 minutes.
- In a separate bowl, mix cream cheese and chives.
- Roll the dough into small balls.
- Press your thumb into the center of each ball to create an indentation.
- Fill the indentations with the cream cheese mixture.
- Place the appetizers on a baking sheet.
- Bake for 15-20 minutes, or until golden brown.
Notes
- You can add a pinch of garlic powder to the dough for extra flavor.
- Garnish with extra chives before serving.
Nutrition
- Serving Size: 1 appetizer
- Calories: 75
- Sugar: 1g
- Sodium: 100mg
- Fat: 5g
- Saturated Fat: 3g
- Unsaturated Fat: 2g
- Trans Fat: 0g
- Carbohydrates: 6g
- Fiber: 0g
- Protein: 2g
- Cholesterol: 15mg
Keywords: cheesy appetizers, thumbprint cookies, cheese bites, party appetizers, easy appetizers