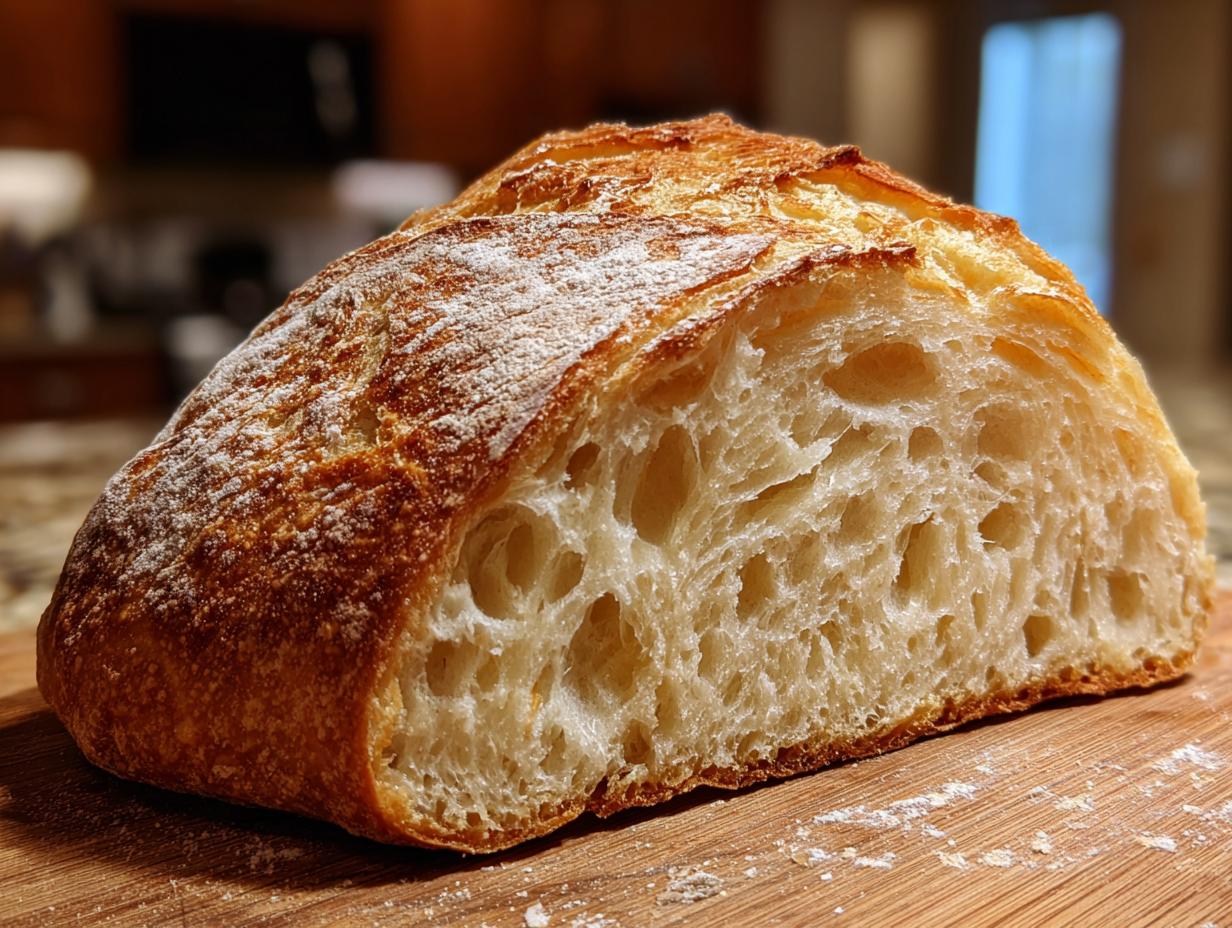
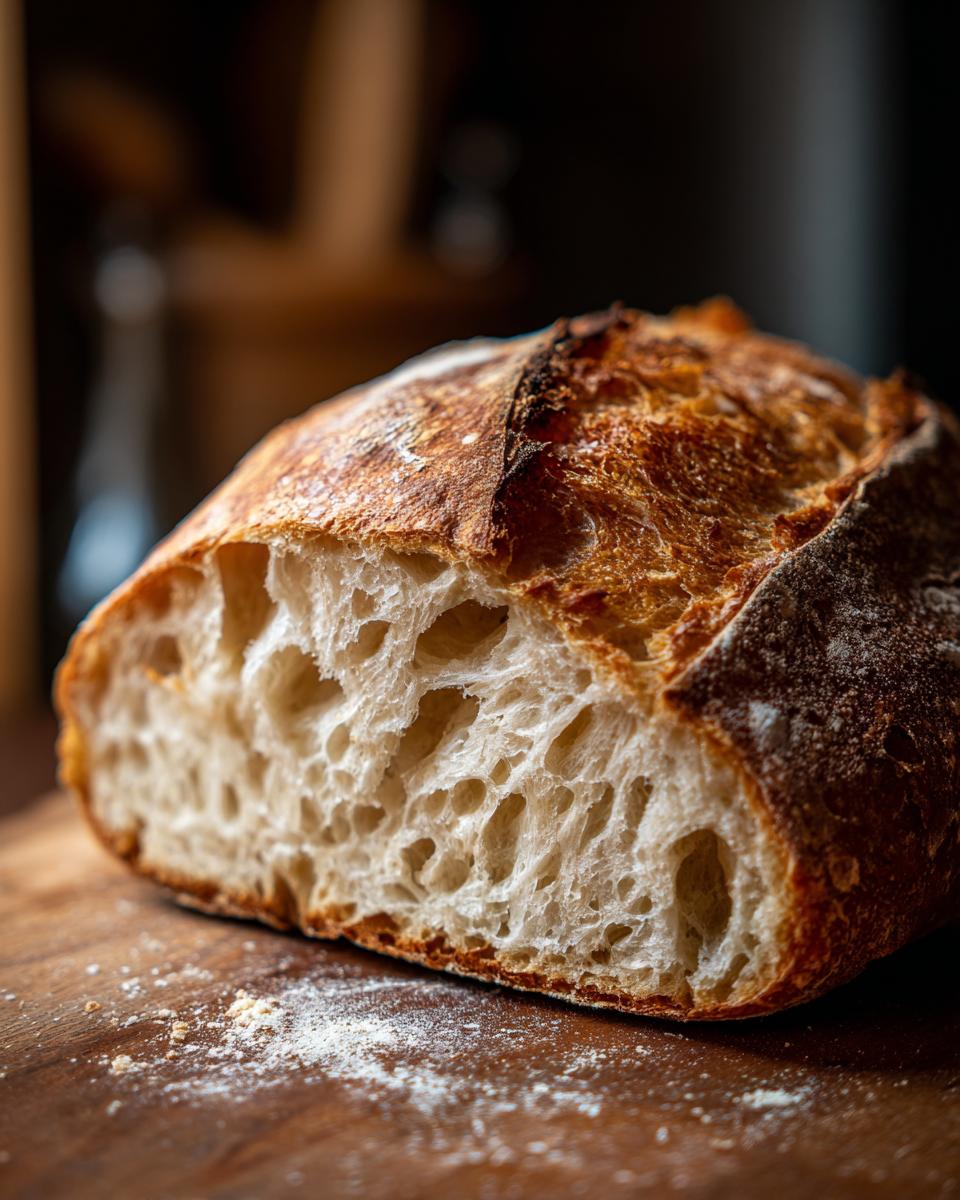
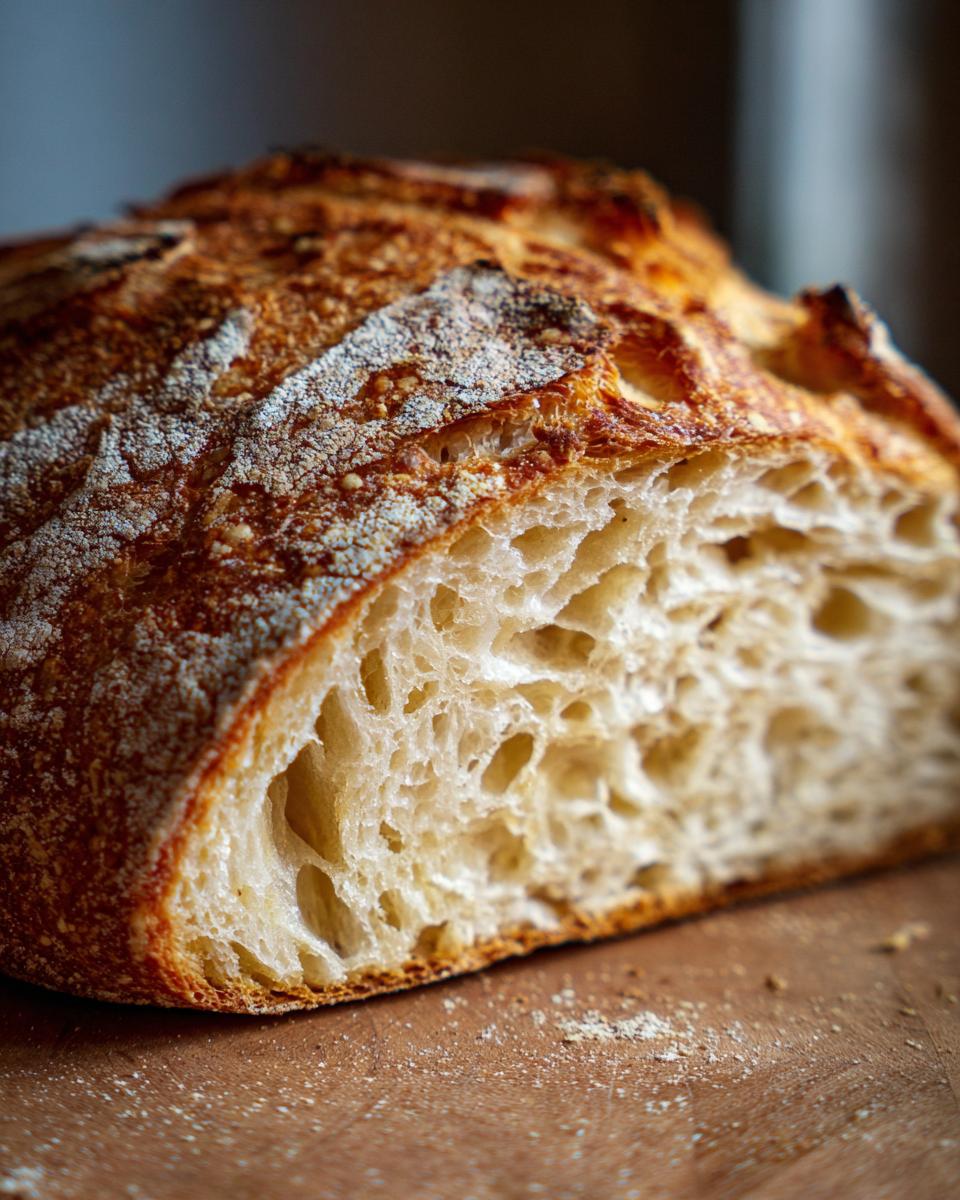
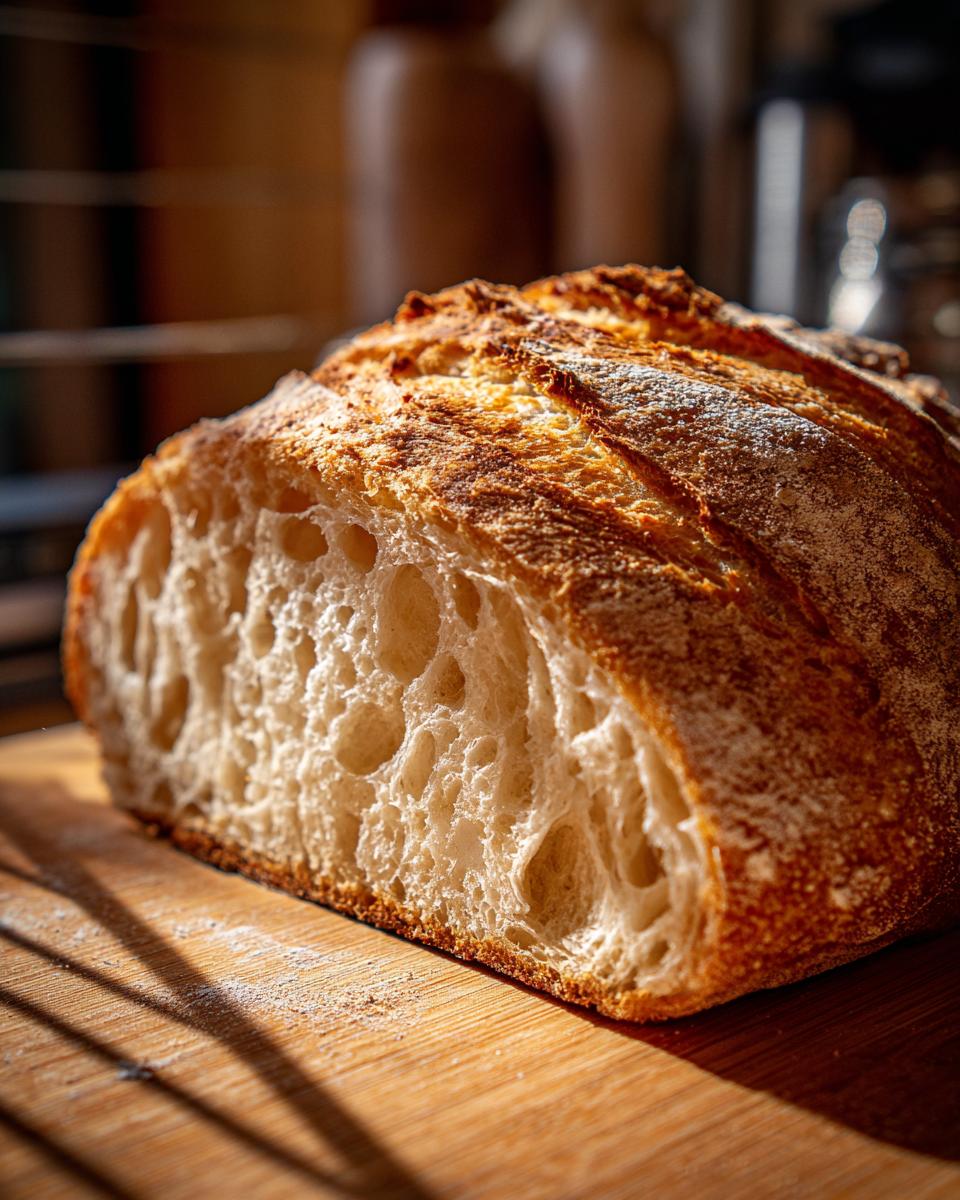
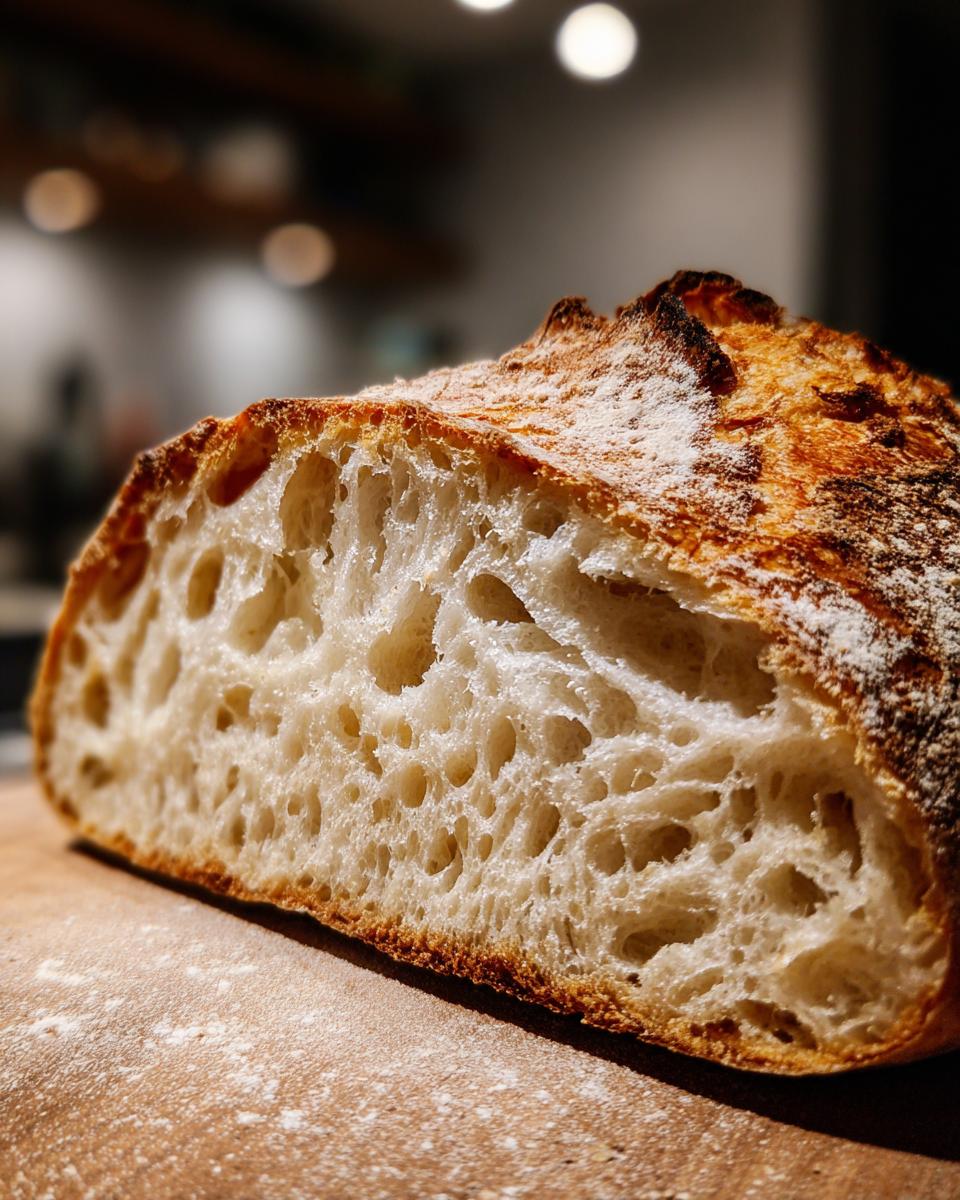
Oh, the smell of a freshly baked loaf of bread! It’s just… magic, isn’t it? It’s one of those comforting, homey scents that instantly makes any house feel like a castle. For years, I’ve been tinkering in my kitchen, trying to nail down that perfect, foolproof recipe for A Fresh Italian Bread, and guess what? I think I’ve finally cracked it! This isn’t some fancy, complicated sourdough that takes days. Nope, this is the real deal – a simple, honest-to-goodness Italian bread that you can whip up on a Tuesday night. I remember the first time I pulled a loaf of this out of the oven; my whole house smelled like a European bakery, and my family practically mobbed me for a slice before it even cooled.
Baking is my happy place, and sharing this recipe feels like sharing a little piece of my heart with you.
Why You’ll Love This A Fresh Italian Bread
Honestly, what’s not to adore about this bread? It’s seriously the easiest way to get that amazing, crusty loaf without all the fuss:
- Super Simple: You don’t need to be a master baker for this one. If you can mix, knead, and wait, you can make this bread!
- Amazing Taste & Texture: It’s got that perfect crusty outside and a soft, chewy inside. Plus, the smell? Out. Of. This. World.
- So Versatile: Perfect for dipping in soup, making killer sandwiches, or just slathering with butter. It goes with everything!
- Pure Baking Bliss: There’s just something so satisfying about pulling your own homemade bread from the oven. It’s a little bit of baking therapy.
Ingredients for Your A Fresh Italian Bread
Okay, let’s talk about what you’ll need to make this glorious loaf! Honestly, the beauty of this recipe is how it uses such simple, pantry-staple ingredients to create something truly special. Quality really does matter here, so try to get the good stuff if you can. Here’s what you’ll need:
- 3 cups all-purpose flour (plus a little extra for dusting, trust me!)
- 1 teaspoon salt (basic table salt or sea salt works great)
- 1 teaspoon active dry yeast (make sure it’s fresh, you don’t want a flat loaf!)
- 1 cup warm water (not too hot, not too cold – think comfy bathwater temp)
- 1 tablespoon olive oil (extra virgin gives the best flavor, but any good olive oil will do!)
That’s it! See? Simple, right? Using good quality flour and fresh yeast makes a surprisingly big difference in how your bread turns out, so it’s worth grabbing the best you can.
Essential Equipment for Making A Fresh Italian Bread
To make your A Fresh Italian Bread just right, you won’t need a whole lot of fancy gadgets. I usually just grab these basics from my kitchen:
- A big mixing bowl (for getting your hands in there!)
- A smaller bowl (for the yeast magic)
- A sturdy spoon or a dough whisk
- Measuring cups and spoons (accuracy matters!)
- A clean surface for kneading (your counter works perfectly)
- A baking sheet (or a pizza stone if you have one!)
- A wire rack (for cooling, though I rarely wait!)
Step-by-Step Guide to A Fresh Italian Bread
Alright, let’s get down to it! Making this A Fresh Italian Bread is more of a rhythm than a recipe, and once you get it, you’ll be hooked. It’s not complicated, I promise. Just follow along, and you’ll have a beautiful loaf before you know it. If you’re looking for more bread adventures, check out this zero-carb yogurt bread recipe for another fun baking project!
Preparing the Dough for A Fresh Italian Bread
First things first, grab your biggest bowl. We’re going to combine the flour and salt. In a separate little bowl, whisk together that warm water and the yeast. Give it a minute to get foamy – you’ll see tiny bubbles, that’s the yeast waking up and saying hello! Then, pour that yeasty water and your olive oil into the flour mixture. Stir it all up with a spoon or your hands until it’s just shaggy. No need to be neat here; a little mess is part of the fun!
First Rise: Letting Your A Fresh Italian Bread Dough Proof
Now, turn that shaggy dough out onto a lightly floured surface. This is where the magic happens with kneading! Work it for about 8-10 minutes. Push, fold, turn… push, fold, turn. You’ll feel it change from sticky to smooth and elastic under your hands. Once it’s nice and smooth, put it in a lightly oiled bowl, cover it up with a clean kitchen towel, and find a warm spot. Let it chill out for about an hour to an hour and a half. You’ll know it’s ready when it has puffed up and doubled in size. I like to poke it gently; if the indentation stays, it’s good to go!
Shaping and Second Rise
Once it’s doubled, punch down that lovely dough gently. It’s like deflating a balloon, just a little sigh. Then, shape it into your favorite loaf shape – a classic oval or a round works great. Place it on a baking sheet lined with parchment paper. Cover it up again and let it have another little rest for about 30 minutes. This second rise really gives the bread its final lift and texture.
Baking Your A Fresh Italian Bread to Perfection
While it’s having its second rise, get that oven preheating to 400°F (that’s 200°C). You want it nice and hot! Once the dough has puffed up a bit more, slide it into the oven. Bake it for about 25-30 minutes. You’re looking for a gorgeous golden-brown color. The best trick? Give the bottom of the loaf a gentle tap – if it sounds hollow, it’s perfectly baked. Isn’t that neat? I learned that trick years ago! Carefully remove it from the oven and put it on a wire rack to cool. Try to let it cool for at least 10 minutes – it’s so hard, I know!
Tips for the Best A Fresh Italian Bread
Okay, so you’ve got your beautiful loaf rising, maybe you’ve even managed to wait for it to cool a bit. Here are my little secrets for making this A Fresh Italian Bread taste like it came straight from a fancy bakery. Trust me, these tricks make a real difference!
First off, for that amazing crusty exterior that’s just *chef’s kiss*, try this! Pop a small oven-safe pan (like a metal brownie pan or an old baking dish) onto the bottom rack of your oven while it’s preheating. Just before you slide your bread in, carefully pour about a cup of hot water into that pan. It creates steam, and steam is your best friend for a perfect crust. Be careful with the steam when you open the oven door, okay?
Now, for flavor! Don’t be afraid to jazz things up. I love adding a teaspoon of dried Italian herbs or some finely minced garlic right into the flour mixture with the salt. It gives the bread an extra layer of deliciousness that’s just divine, especially when served alongside something like my garlic herb potato soup or my honey curry roasted cauliflower. And, if you sneak in a tablespoon of sugar with the yeast and water, you’ll get a slightly sweeter crumb and a browner crust!
Ingredient Notes and Substitutions
Sometimes you might not have *exactly* what the recipe calls for, and that’s okay! For this A Fresh Italian Bread, the all-purpose flour is pretty forgiving. If you want to play around, bread flour will give you a chewier texture thanks to its higher protein content, but all-purpose works just fine for that classic Italian loaf. Active dry yeast is what I usually use, but instant yeast works too – you can just mix it straight in with the flour, no need to proof it in water first. Just give it a try with what you have, but remember, good ingredients really do make a difference! Think of it like this – you wouldn’t want to pair my sweet potato and chickpea curry with just any old bread, right? Same idea here – good ingredients, great bread!
Serving Suggestions for A Fresh Italian Bread
Honestly, this A Fresh Italian Bread is so good, you can eat it just as it is! But if you really want to make a meal sing, I love dipping thick slices into a hearty anti-inflammatory chicken soup or a flavorful immune-boosting broth; it’s just divine. It also makes the most amazing base for any sandwich you can dream up, or just piled high on the side of pasta!
Storage and Reheating Instructions
So, you have some leftover A Fresh Italian Bread? Lucky you! To keep it nice and fresh, wrap it tightly in plastic wrap or store it in an airtight container. It’s usually best eaten within a day or two, but if you need it to last longer, a bread box works wonders. If it’s gotten a little stiff, just pop a slice in the oven for a few minutes at around 350°F (175°C) – it’ll be just like it came out of the oven!
Frequently Asked Questions about A Fresh Italian Bread
Got questions about whipping up this amazing loaf? I totally get it! Baking can sometimes feel like a bit of a mystery, but I’ve found that understanding a few common things can make all the difference. Let’s clear up some of those baking puzzles!
Can I use bread flour instead of all-purpose flour?
Oh yes, you absolutely can! Using bread flour will give your A Fresh Italian Bread a chewier texture because it has more protein. It’s a lovely variation if you like that slightly denser, chewier bite. All-purpose flour is perfectly fine and gives you that classic Italian bread feel, but bread flour is a great swap!
Why didn’t my dough rise?
This is a common baking woe! Usually, it’s one of three things: your yeast wasn’t alive (old yeast is no fun!), the water was too hot and killed it, or the dough was too cold and it just got sleepy. Make sure your water is warm, not hot, and double-check that your yeast is fresh. Sometimes, just giving it a little longer in a warmer spot helps too!
How long does A Fresh Italian Bread stay fresh?
This bread is definitely best the day it’s made, honestly! But wrapped up well, it stays pretty good for a good 2-3 days at room temperature. If it starts to get a little stale, don’t toss it! Those older loaves are perfect for making croutons, breadcrumbs, or dunking into something delicious, kind of like how I love to serve it with my easy breakfast quiche for brunch!
Nutritional Information
Just a heads-up, these numbers are always estimates, leaning towards what you might find in a typical slice of A Fresh Italian Bread. Baking is an art, and things can vary a bit depending on exact ingredients and even how much flour you used for dusting! Here’s a general idea for one slice:
- Calories: Around 120
- Fat: About 2g
- Saturated Fat: 0g
- Unsaturated Fat: 2g
- Trans Fat: 0g
- Carbohydrates: Roughly 23g
- Fiber: Around 1g
- Sugar: Usually just 1g
- Protein: About 4g
- Sodium: Typically close to 200mg
- Cholesterol: 0mg
Fresh Italian Bread
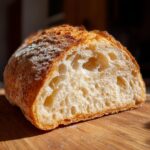
A simple recipe for homemade Italian bread.
- Prep Time: 20 min
- Cook Time: 30 min
- Total Time: 2 hr 20 min
- Yield: 1 loaf 1x
- Category: Bread
- Method: Baking
- Cuisine: Italian
- Diet: Vegetarian
Ingredients
- 3 cups all-purpose flour
- 1 teaspoon salt
- 1 teaspoon active dry yeast
- 1 cup warm water
- 1 tablespoon olive oil
Instructions
- In a large bowl, combine flour and salt.
- In a separate bowl, dissolve yeast in warm water. Let stand for 5 minutes until foamy.
- Add yeast mixture and olive oil to flour mixture. Mix until a shaggy dough forms.
- Turn dough onto a lightly floured surface and knead for 8-10 minutes until smooth and elastic.
- Place dough in a lightly oiled bowl, cover, and let rise in a warm place for 1-1.5 hours, or until doubled in size.
- Punch down dough and shape into a loaf. Place on a baking sheet.
- Cover and let rise for another 30 minutes.
- Preheat oven to 400°F (200°C).
- Bake for 25-30 minutes, or until golden brown and hollow-sounding when tapped.
- Let cool on a wire rack before slicing.
Notes
- For a crispier crust, place a pan of water on the bottom rack of the oven while baking.
- You can add herbs or garlic to the dough for extra flavor.
Nutrition
- Serving Size: 1 slice
- Calories: 120
- Sugar: 1g
- Sodium: 200mg
- Fat: 2g
- Saturated Fat: 0g
- Unsaturated Fat: 2g
- Trans Fat: 0g
- Carbohydrates: 23g
- Fiber: 1g
- Protein: 4g
- Cholesterol: 0mg
Keywords: Italian bread, homemade bread, fresh bread, baking bread, easy bread recipe