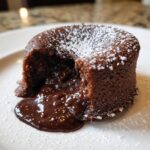
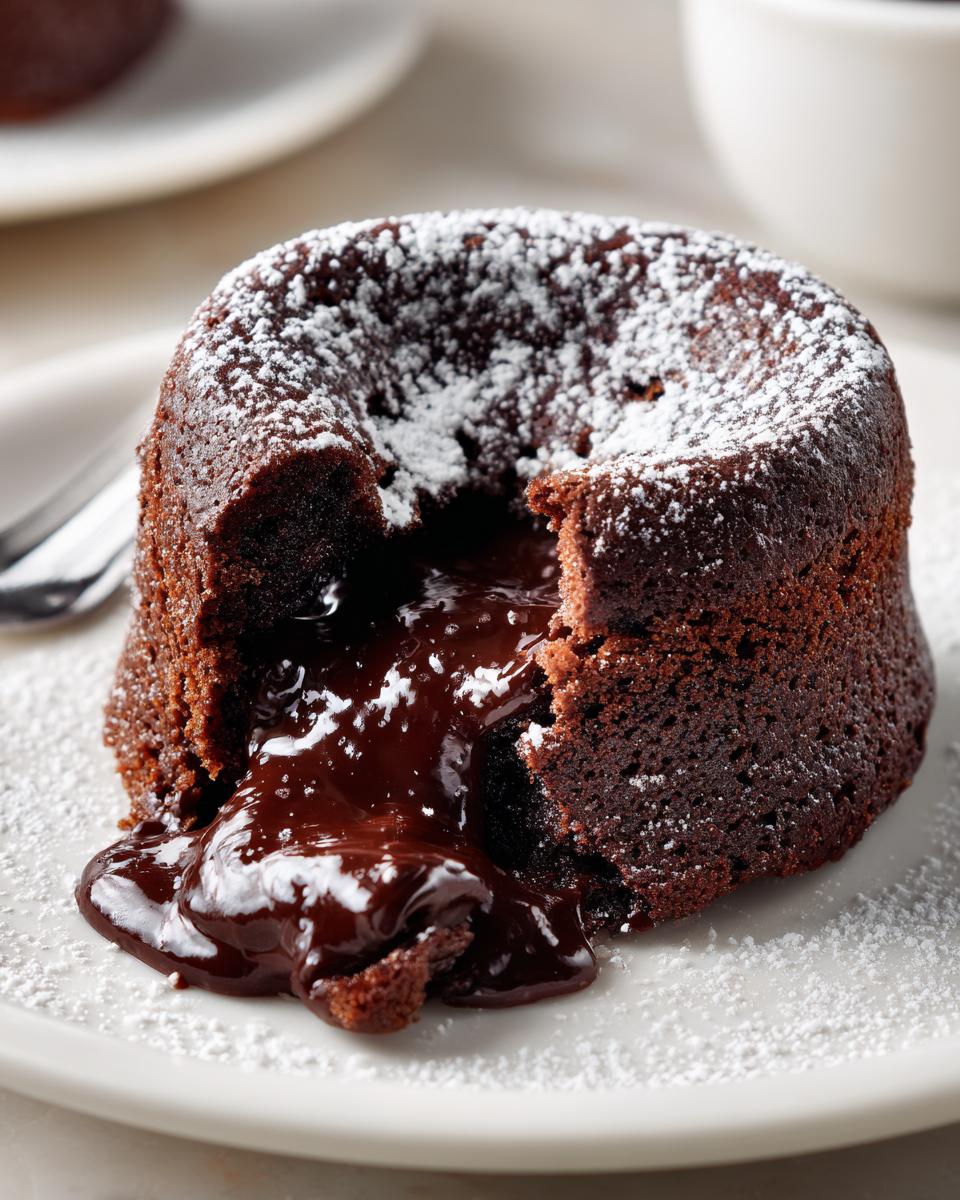
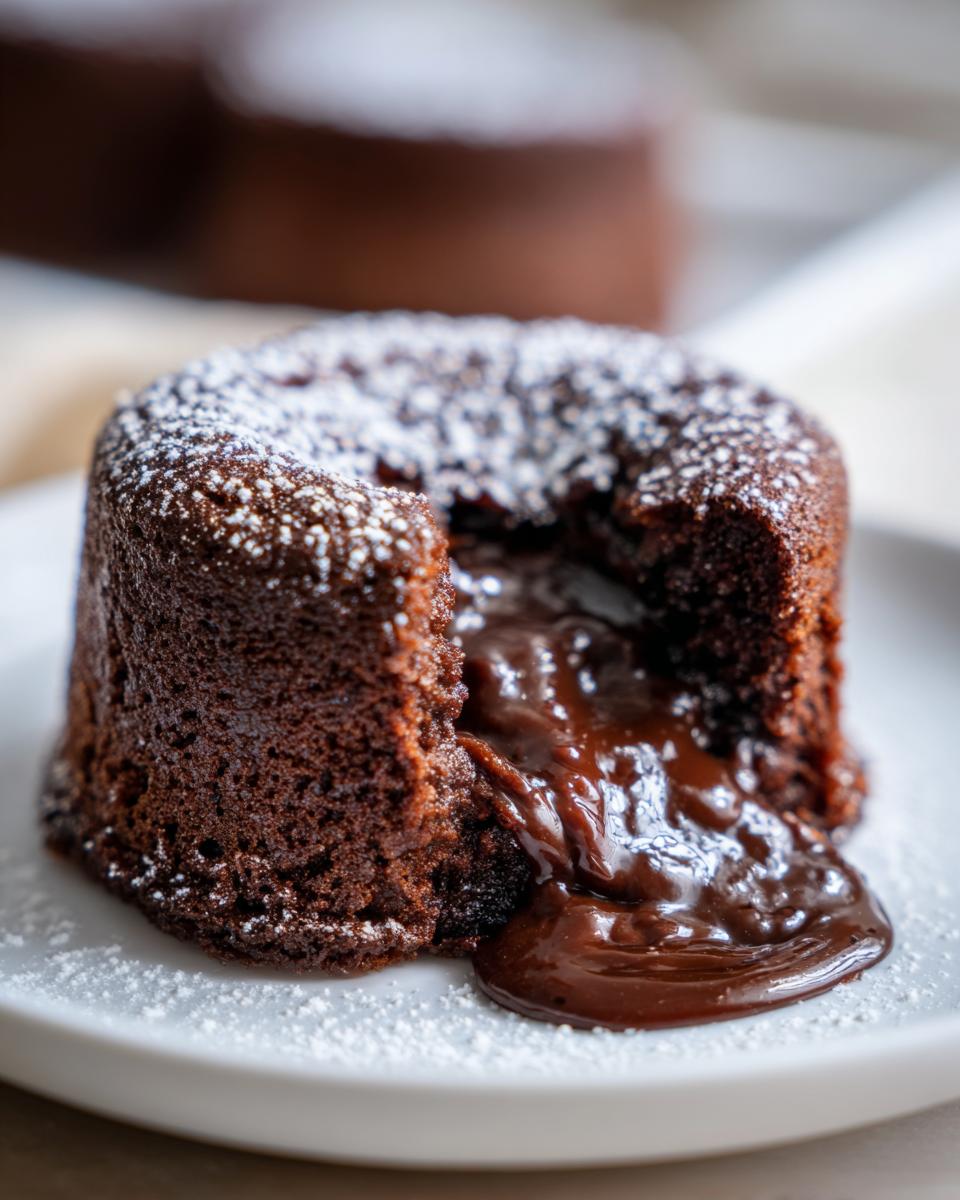
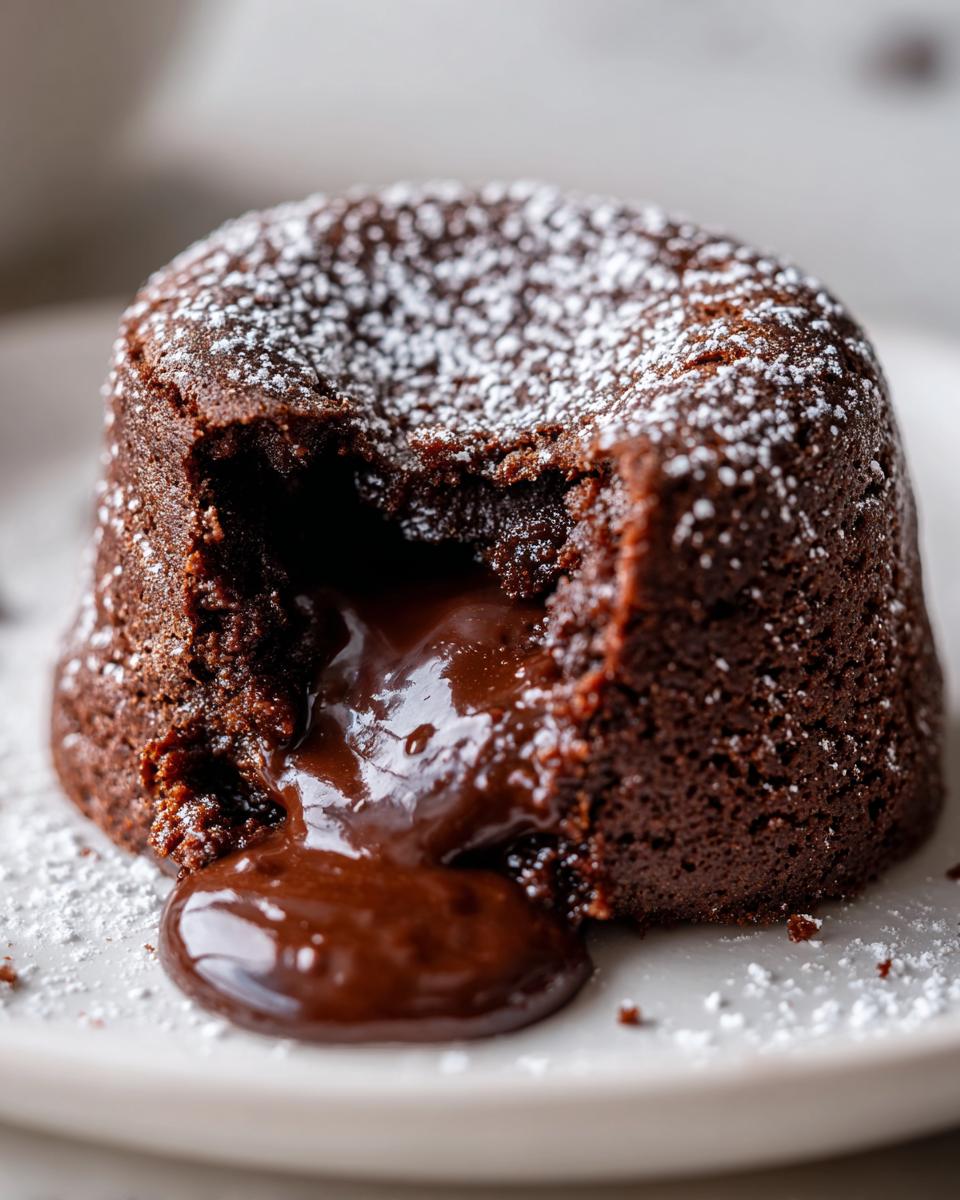
Oh, that moment when you slice into a warm chocolate dessert and gooey goodness just spills out? It’s pure magic, right? That’s exactly what we’re diving into today with these incredible Chocolate Lava Cakes. Seriously, making these feels like a special occasion, but they’re surprisingly easy to whip up – my go-to when I need a serious chocolate fix without a ton of fuss. I remember the first time I nailed that perfect molten center; it was a game-changer! This recipe hits all the right notes: intensely chocolatey, ridiculously rich, and that lava flow? Unbeatable.
Why You’ll Love These Chocolate Lava Cakes
Trust me, these little cakes are winners for so many reasons:
- Super Quick to Make: You can go from craving chocolate to tasting it in under 30 minutes, start to finish!
- Seriously Intense Chocolate Flavor: We’re talking rich, decadent chocolate that’ll make you swoon.
- Impressive Presentation: They look so fancy, but nobody needs to know how simple they were. Perfect for guests!
- That Molten Center: The best part! That warm, gooey chocolate lava is pure bliss.
- So Versatile: Great for a romantic dessert for two or a quick treat just for you.
Gather Your Ingredients for the Perfect Chocolate Lava Cakes
Alright, let’s get our mise en place ready! The magic of these Chocolate Lava Cakes really comes down to using good quality stuff. Don’t skip out on the chocolate – it makes a world of difference, trust me on this!
For the Cakes:
- 1/2 cup unsalted butter (plus a little extra for greasing those ramekins, this is key for easy release!)
- 4 ounces bittersweet chocolate, good quality, chopped finely
- 2 large eggs, at room temperature
- 2 large egg yolks, also at room temp
- 1/4 cup granulated sugar
- 1 pinch of salt (just a little bit to make that chocolate sing!)
- 2 tablespoons all-purpose flour
For Serving (Optional, but highly, highly recommended!):
- Powdered sugar, for a pretty dusting
- Whipped cream or your favorite vanilla ice cream
Essential Equipment for Making Chocolate Lava Cakes
You don’t need a whole fancy kitchen setup for these bad boys! Just a few trusty tools will do the trick:
- 4-ounce ramekins: These little guys are perfect for individual lava cakes. Make sure you’ve got enough for your batch!
- Baking sheet: This is super handy for carrying the ramekins into and out of the hot oven without spills.
- Whisk: Essential for getting those eggs nice and frothy and for smoothly combining everything.
- Mixing bowls: You’ll need a couple – one for the chocolate and one for the eggs.
Having these ready means you can jump right into the fun part – making that gooey chocolate magic happen! And for more lava cake inspiration, check out this guide.
Step-by-Step Guide to Crafting Chocolate Lava Cakes
Now for the fun part – making these beauties! It’s easier than you think, and honestly, the hardest part is waiting for them to bake. Just follow these simple steps and you’ll be scooping that molten chocolate center in no time.
Preparing the Ramekins and Oven
First things first, let’s get the oven nice and hot! Crank it up to 425°F (220°C); we need that high heat for the magic to happen. Then, grab your ramekins and give them a good buttering and flouring. Really get into all the nooks and crannies so these cakes slide out like a dream. Pop them onto a baking sheet – it just makes life easier when you’re juggling hot things.
Melting the Chocolate and Butter
In a heatproof bowl, toss in your chopped bittersweet chocolate and the butter. You can do this over a gentle double boiler, stirring away until everything is smooth and glossy. Or, if you’re feeling speedy, zap it in the microwave in 30-second bursts, stirring in between, until it all melts together. Just be careful not to scorch that chocolate! Once it’s melty and gorgeous, take it off the heat and let it cool *just* a little bit.
Creating the Egg Mixture
While that chocolate bliss is cooling, grab another bowl. Crack in your eggs and egg yolks, add the sugar and that little pinch of salt. Whisk it all together until it’s looking pale and a bit thicker – think soft ribbons falling back down. This step is key for the cake’s texture later on.
Combining Wet and Dry Ingredients for Chocolate Lava Cakes
Okay, time to bring it all together! Gently fold the egg mixture into the slightly cooled chocolate mixture. Don’t go crazy here, just mix until it’s *almost* combined. Then, add your flour and fold it in until you just don’t see any dry streaks left. Remember, we don’t want to overmix, or we might lose that perfect gooey center!

Baking Your Chocolate Lava Cakes to Perfection
Spoon that glorious batter evenly into your prepared ramekins. Here comes the crucial part: baking! Pop them into that hot oven for about 10 to 12 minutes. You want the edges to look set, like a proper cake, but the center should still be gloriously soft and a little jiggly. It’s a bit of an art, but you’ll get the hang of it! Trust your eyes and the timer.
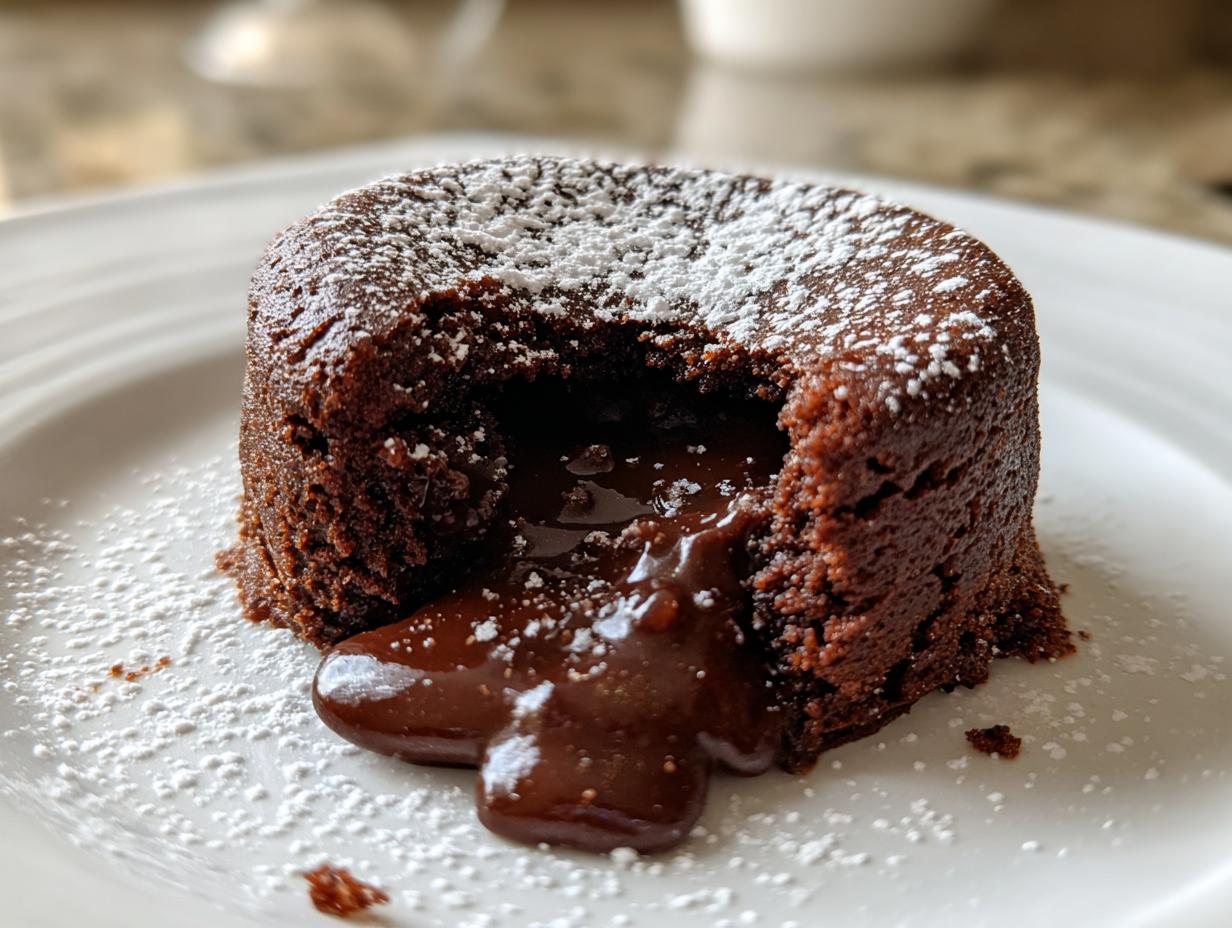
Serving Your Molten Chocolate Masterpieces
Once they’re out of the oven, let them sit in their ramekins for just sixty seconds – no more! Then, the grand finale: carefully invert each ramekin onto a serving plate. Give it a gentle tap if needed, and watch that warm, luscious chocolate lava flow right out! Dust ’em with a little powdered sugar and serve them up immediately with some whipped cream or ice cream for the ultimate indulgence.
Tips for Achieving the Perfect Chocolate Lava Center
Getting that ooey-gooey molten center just right comes down to a few key things. Honestly, your oven can be a little quirky, so really watch these cakes like a hawk! The edges should look set and cake-like, but the very center should still seem a bit soft and jiggly. It usually takes about 10-12 minutes, but don’t be afraid to peek after 9 minutes. If you overbake them, you’ll just end up with delicious, albeit slightly denser, chocolate cakes – still tasty, but not quite that lava magic. Using good quality bittersweet chocolate is a game-changer too; it melts beautifully and has that deep chocolate flavor we’re after. It’s worth the little splurge for this one! For other delicious chocolatey treats, you might love these brownie bites with ganache!
Ingredient Notes and Substitutions for Chocolate Lava Cakes
Let’s talk ingredients! While this recipe is pretty straightforward, a few choices can really make a difference. For the absolute best chocolatey punch, I always reach for a good quality bittersweet chocolate, usually something with around 60-70% cacao. It gives you that deep chocolate flavor without being too sweet. If you only have semi-sweet on hand, it’ll work too, but you might want to add that pinch of salt to balance it out a bit more. For a richer taste, I like using butter, but if you’re in a pinch, a good quality margarine *might* work, though your texture could be a tad different.
As for flour, all-purpose is totally fine here! The recipe only calls for a tiny bit, just enough to give the cakes structure without making them heavy. So don’t stress too much about swapping that part out unless you have a specific dietary need in mind – but do be aware that gluten-free flours can sometimes change the texture of baked goods.
Frequently Asked Questions about Chocolate Lava Cakes
Got questions about these decadent little delights? I’ve got answers! Here are some things folks often wonder about when whipping up these chocolate lava cakes.
Can I make Chocolate Lava Cakes ahead of time?
You totally can! You can make the batter a few hours ahead, divide it into your buttered and floured ramekins, cover them, and pop them in the fridge. Just add a minute or two to the baking time when you’re ready to serve them.
How do I prevent my Chocolate Lava Cakes from overbaking?
Keep a close eye on them! The edges should look set, but the center needs to still be a little soft and wobbly. Your oven might bake a bit faster or slower, so start checking around the 10-minute mark. It’s better to err on the side of underbaking slightly for that perfect molten flow!
What kind of chocolate is best for Chocolate Lava Cakes?
Bittersweet chocolate is my favorite here, usually around 60-70% cacao. It gives you that deep, rich chocolate flavor without being overly sweet. Semi-sweet works too, but you might get lucky with a slightly less intense chocolate taste.
Nutritional Information (Estimated)
Keep in mind that these numbers are just estimates, and they can change depending on the brands of ingredients you use and how perfectly you nail that molten center! These delicious little chocolate lava cakes are roughly:
- Calories: Around 350-450 per cake
- Fat: About 25-35g
- Protein: Roughly 6-10g
- Carbohydrates: Approximately 30-45g
So, yeah, they’re a decadent treat, but oh-so-worth-it!
Print